


This trip to Barcelona wasn’t my first. I had spent a few days there just after college when I was working in London. However, I only spent two nights and...
The morning after losing the passports we packed up our stuff in a jiffy and took a cab to the US Embassy where we were soon engaged in a 4...
We just spent a month in Spain and I want to write down as much as I can before I forget it. It’s been over 10 years since I’ve travelled...
My friend and I attended this event on February 18th. We missed the march and joined the rally at City Hall in downtown LA. It was a much smaller crowd...
We started out at my sister’s house. My niece had a day off of work so we grabbed her and headed to South Street. The last time I’d been there...
This is so cute. There are many variations on Pinterest. I think the original idea came from the Free People blog which is worth looking at. I had these animals...
Last fall when I heard about the Ice Bucket Challenge I claimed to have felt bullied into donating since I didn’t want to make a spectacle of myself on Facebook....
After 20 years in the Castro, my dad decided to leave for a flatter, easier life. St. Allison met me in San Francisco a couple of weeks ago to help...
We braced ourselves for the start of kinder this year. After all, we knew how pre-school had gone two years prior. She only cried every day for 1.5 years of...
It’s getting HOT and making pasta every night is killing me. I’ve been trying to branch out to more salads now that it’s summer. This is a really tasty dish...
Garsh! I’m going crazy with the summer recipes but that’s because I wasn’t eating the healthiest last week.
I call this dish “One-armed” because I had use of only one arm whilst making most of this, what seemed a simple dish. What was my other arm doing, you ask? My other arm was both holding and struggling with/battling, and trying to keep safe a very cranky 10 month old with 4 teeth coming in all on the same day.
Hey, wouldn’t that be a fun “Top Chef” challenge?
“You have 30 minutes to make a pasta dish involving chopped vegetables with a squirming 22 lb baby in one arm. You lose if the baby burns or cuts herself!”
I think I’ll suggest it to the folks at Bravo.
Shall we get down to it? I found this recipe on Vegan Yum Yum. Don’t worry if you’re biased against vegan food – this is so yummy (or should I say Yum Yum Yummy?) and simple that everyone will like it.
First, you need these things:
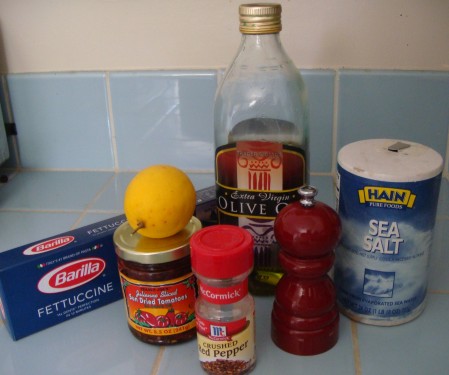
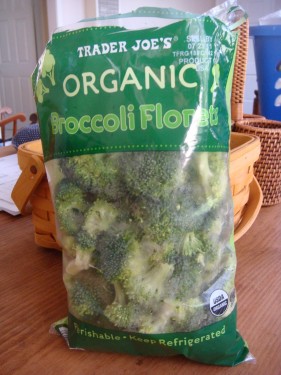
This recipe makes enough for 4 people. The original recipe was for 1 serving so I adjusted the amounts.
INGREDIENTS:
- dry fettucini noodles (1 box)
- 1 head broccoli OR a 12 oz bag florets
- 1 c sun dried tomatoes in oil
- crushed red pepper flakes
- salt to taste
- 1/2 of a lemon
- olive oil
Get your water boiling in a pot for the pasta.
Chop your broccoli florets pretty small. The original recipe says to chop them the size of a quarter but since they aren’t in the shape of a quarter and I am spatially challenged I just cut them “SMALL.”
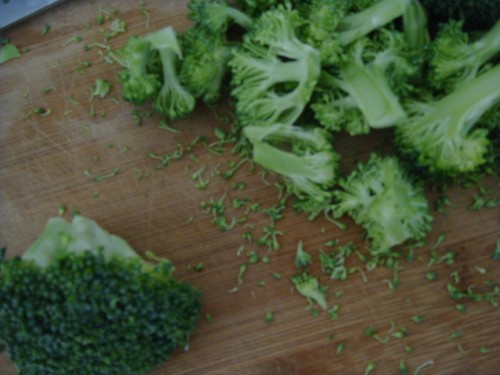
Slice tomatoes unless yours are already sliced as mine were. (Thanks, Trader Joe’s!) These are oily buggers so I’m glad I didn’t have to mess with them.
Oh, by the way, I barely took any pictures b/c of the one arm thing. That and my battery keeps falling out of the camera.
Throw pasta into boiling water. Should take about 10-12 minutes. Salt the water to your liking.
When pasta has about 6 minutes remaining, heat wok or skillet to medium high heat. Pour in 2 tablespoons olive oil. When oil is heated, add broccoli florets. Stir constantly to coat florets with oil. Add oil if necessary. After about 2 minutes, add tomatoes and crushed red pepper to your liking. Cook another 2 minutes, stirring.
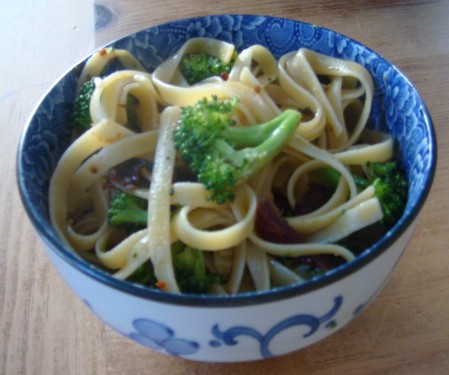
Drain pasta & add pasta to skillet/wok. Sprinkle juice from half a lemon and combine. Taste and add more crushed pepper, fresh ground black pepper or lemon juice as desired!
Last night we got home from a few weeks visiting family & the beach in the Carolinas. I noticed the South has very little respect for those trying to practice a vegetarian diet or any kind of diet! OK. That’s unfair. We were in a pretty touristy place with amazing seafood so it was my own fault.
Anyway, when we got home I was looking forward to a) seeing my garden and b) eating something from my garden. I found this pizza recipe on http://www.bakedbree.com and didn’t expect much from it but MAN oh MAN was it good!
It’s really easy too…
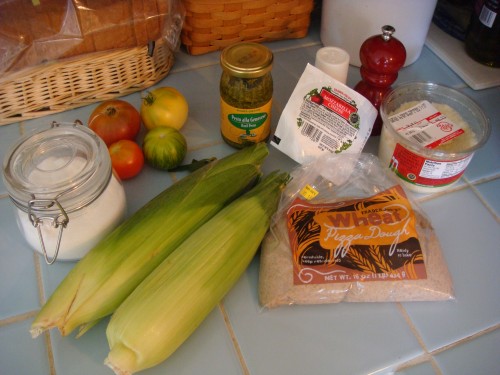
INGREDIENTS:
- pizza dough (I bought whole wheat pre-made from Trader Joe’s which was yummy)
- pesto (fresh is always best but I used some Trader Joe’s from a jar since I didn’t have time to make any)
- mozzarella
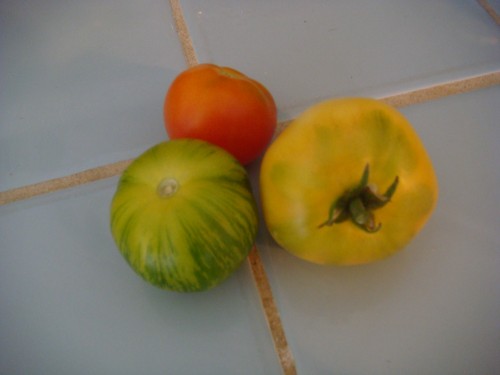
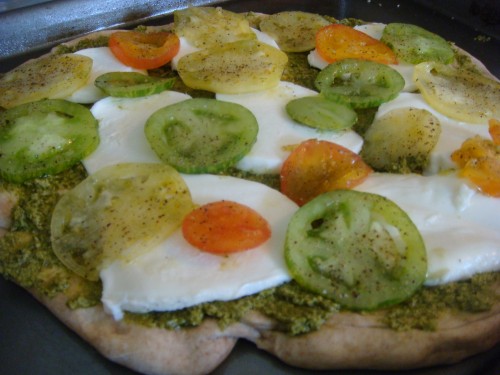
- tomatoes – either cherry tomatoes or 3 or 4 smallish tomatoes. The original recipe recommends Roma but I used my heirloom variety from my garden and I went for green, yellow & red for color.
- 1 tsp sugar
- 1/4 c parmesan (I used pre-grated from Trader Joe’s – don’t overthink this too much. I didn’t.)
- 1/2 c corn (I used fresh which I just cut from about 2 ears but if you can’t get it use frozen.)
- basil (just enough to tear & sprinkle on top when the pizza comes out of the oven)
First: preheat oven to 450. NOTE: this is not a smart thing to do when it is hot out. But this IS a summer pizza. Does that mean you should make it in the summer or that your house will feel like it’s summer when you make it? For me both were true.
It was so exciting to find these in the garden when we got home! These are the tomatoes I ended up using.
Slice the tomatoes as thick or thin as you’d like on a pizza and sprinkle with salt & fresh ground pepper. Leave for about 20 mins. I just left them on the cutting board. But then of course I needed that same cutting board again for the cheese. But knowing me I’ll probably do that again next time!
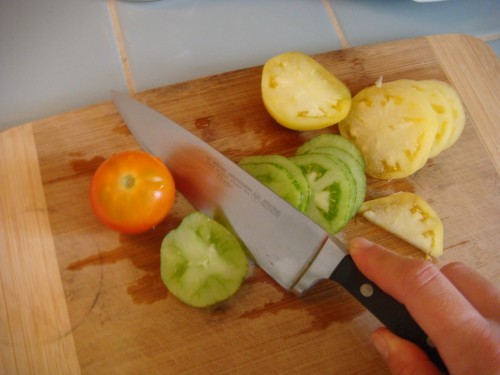
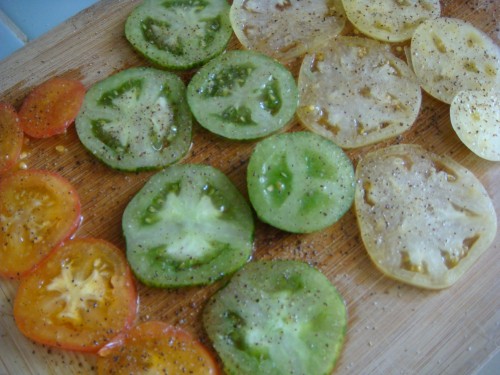
Meanwhile, if you bought pre-made dough, take it out on a lightly floured surface and let it “rest” for about 20 minutes. Since you are waiting on the tomatoes anyway you can now work on the corn.
Slice the corn off about 1.5 to 2 cobs. Mix in bowl with the sugar & parmesan cheese.
Look at timer to see how much time you have. Run out back to turn off the sprinklers. Totally forget about the pizza, oven, tomatoes & resting dough and start talking to the neighbor about how to make mimosas. Hear a child screaming herself awake from nap, remember the pizza, oven, tomatoes and resting dough. Run back inside.
When 20 mins are up – stretch or roll dough. I actually gave it a few tries up in the air, Italian style but I got too nervous, knowing full well how long it’s been since the kitchen floor was scrubbed. Place on a lightly greased pizza stone or if you don’t have one, a cookie sheet.
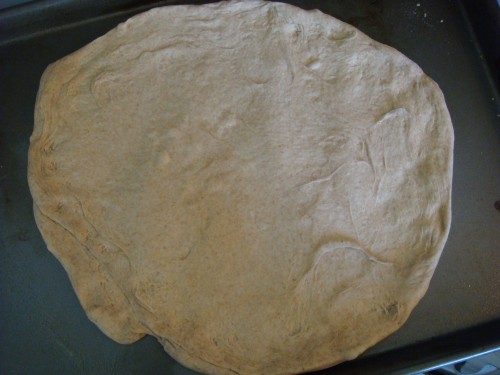
Spread thin layer of pesto atop the dough. (I was an English major so I like to say things like “atop” when I can.)
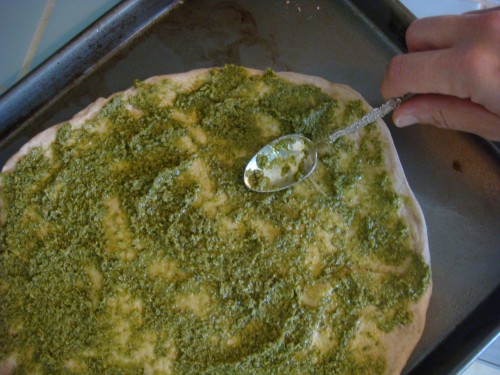
Slice mozzarella and place on top of pesto. Then add tomatoes. Next time I might put the corn under the cheese & the tomatoes on top but I’m not sure why. Just to say I did it.
Finally, spoon corn mixture on top. (At least that’s what I did.)
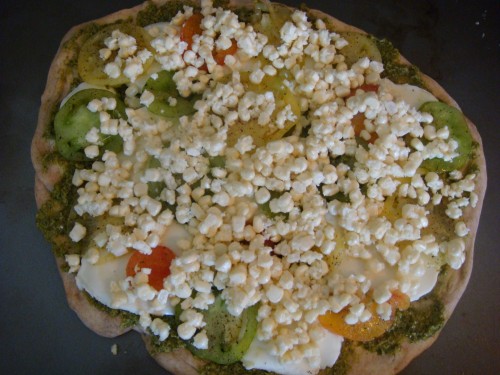
And pop in oven for 15 minutes. Make sure your oven was at 450 before you put it in!
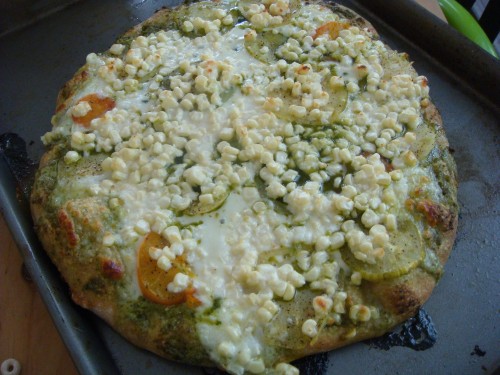
Yum!
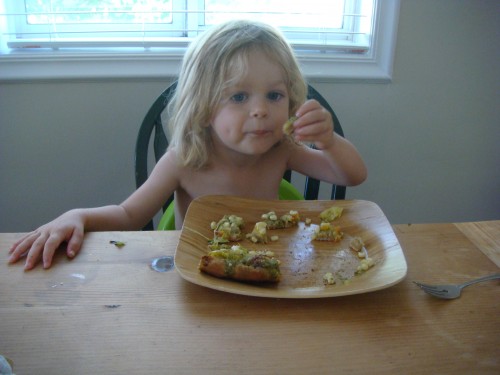
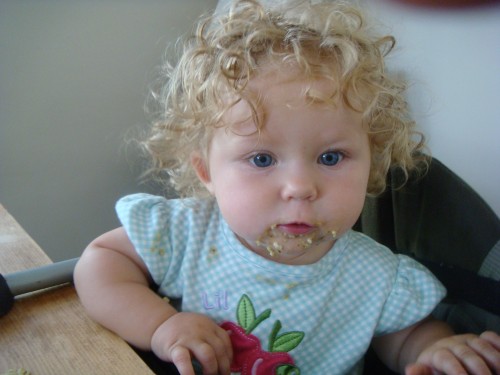
Save some for Daddy…
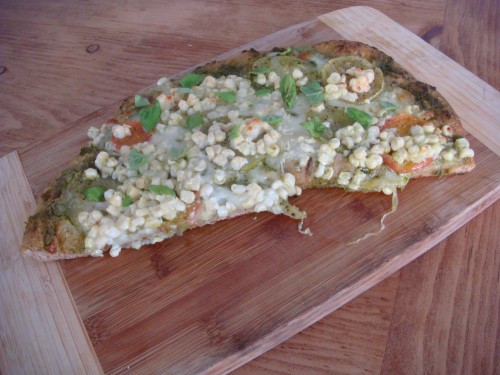
The new printed Booby Bags came in and I was really excited to sell the first one to one of G’s colleagues. (Thanks, Linda!) I actually sold her a “boy” bag but here is a version of a “girl” bag. I can also do gender neutral!
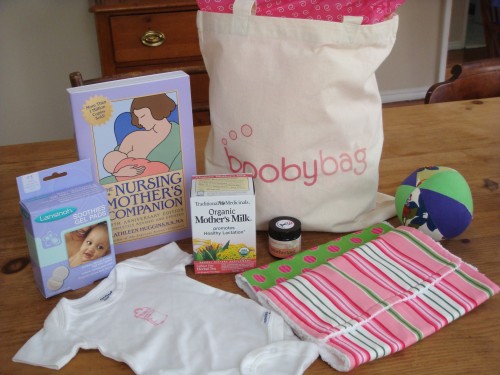
What your bag includes:
- Canvas tote bag
- “Nursing Mother’s Companion” in my opinion, the BEST reference book for a nursing mom
- Lansinoh Soothies Gel Pads (for sore newbie boobies)
- MotherLove Herbal Nipple Cream
- Organic Mother’s Milk Tea (to increase milk supply)
- An adorable newborn onesie hand-stamped by yours truly
- A high quality board book OR toy
- A handmade mini-blanky OR burp cloths
These bags are $100. Email me any inquiries!
[email protected]
I bought some little slider buns a few weeks ago & threw them right into the freezer seeing as I had nothing to put in them. Tonight I finally made some black bean sliders.
You wouldn’t believe how many pictures I took of the ingredients. First I forgot the corn.
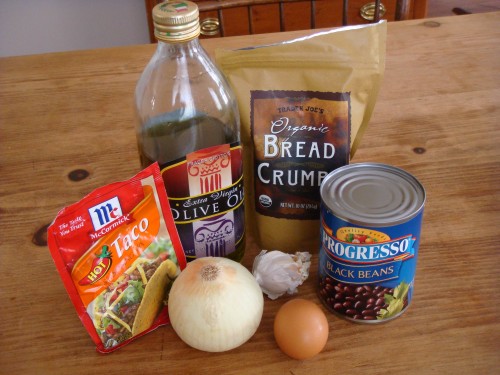
Then I forgot the cilantro.
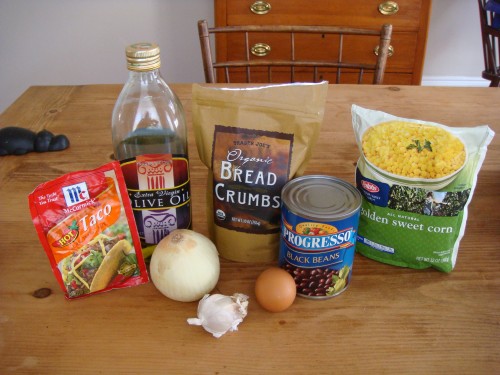
I had to run outside with Bea on my hip, deposit her in her swing so I could cut it, and run back in, snap another pic only to realize I forgot the salt.
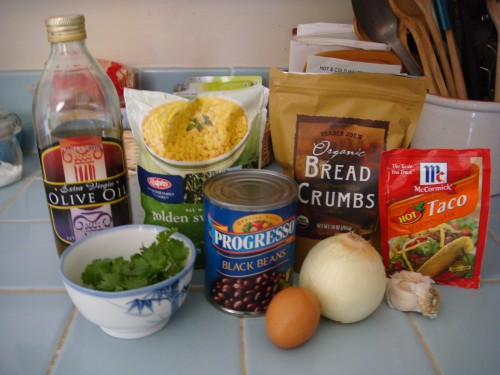
Ok. So sorry & ignore all the items in the background.
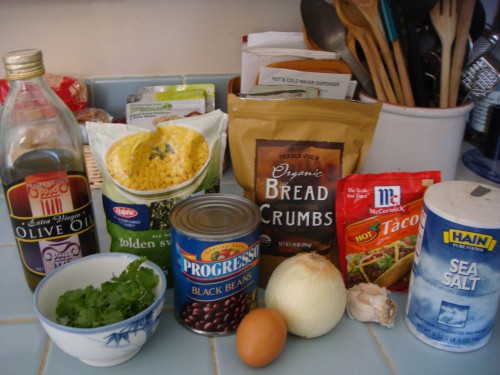
GARSH!! I forgot to take a pic of the slider buns and we ate them all last night!
Let’s get down to business.
I found this recipe on http://www.bakedbree.com
Ingredients:
- 1 can black beans, drained & rinsed (Note: save liquid!)
- 1 medium onion, chopped small
- 2 cloves garlic minced
- 1 tbsp taco seasoning (or make your own with cumin, paprika, oregano, garlic powder)
- 1/2 c corn (I used frozen)
- 1/2 c bread crumbs
- 1 egg
- 1/4 c chopped cilantro (unless you don’t like it!)
- 1/2 tsp salt
- 2 tbsp olive oil
This recipe made 10 sliders.
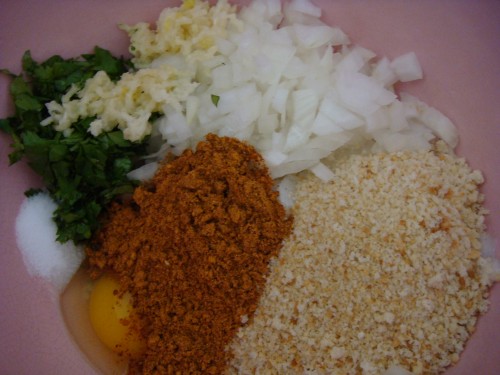
Combine onions, breadcrumbs, garlic, egg, cilantro, salt & taco seasoning thoroughly in bowl.
Add black beans & corn. Mash together!
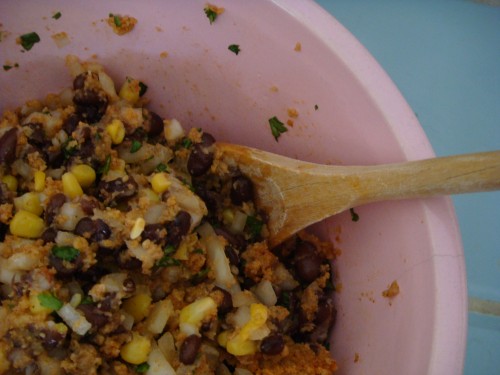
If mixture is too dry, add some of the black bean liquid you saved because you paid attention to the note about that in the ingredients list! Once the mixture is thick but cohesive, cover & refrigerate for 30 minutes.
Remove from fridge, form patties of whatever size buns you have and put back in fridge for 15 minutes to chill.
Fry in olive oil in a non-stick pan for 5 minutes on each side.
These came out really yummy! I added sliced cheddar to G’s sliders and jalapenos & ketchup to mine. We ate them with a broccoli salad with an Asian dressing (will post recipe for dressing later).
They don’t look pretty because it was dark out by the time I made them. No natural light = ugly food pics.
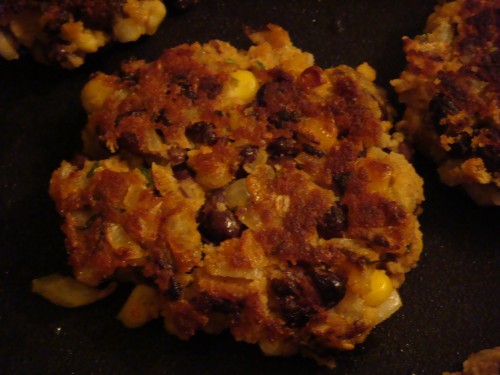
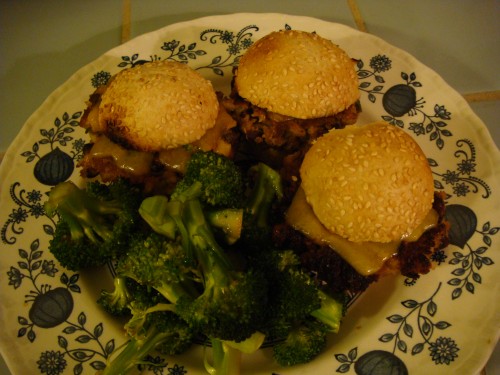
Next time I make these I’m going to add chopped jalapenos to the mixture and make them regular sized for wheat buns.
Enjoy!
Maddie, like most toddlers, has ever-changing breakfast desires. This is her latest though today could be the last time she’ll eat it! I use full fat yoghurt but obviously you can change that out for low fat or fat free.
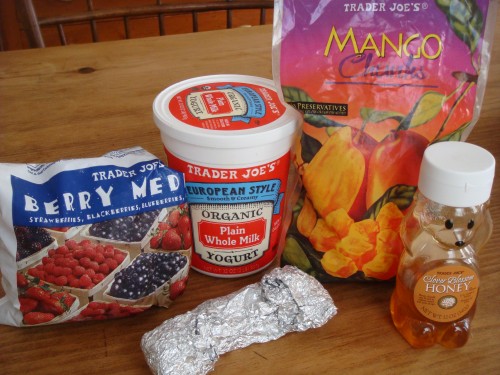
Ingredients:
- yoghurt (or you can use yogurt)
- frozen fruits
(that’s a banana in the aluminum foil)
- honey
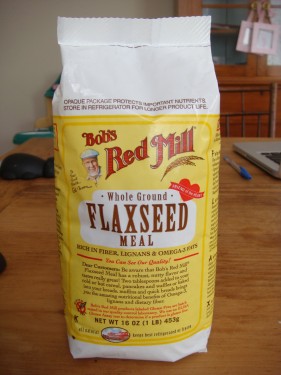
You can also add Flax Seed meal or wheat germ etc. I just forgot to!
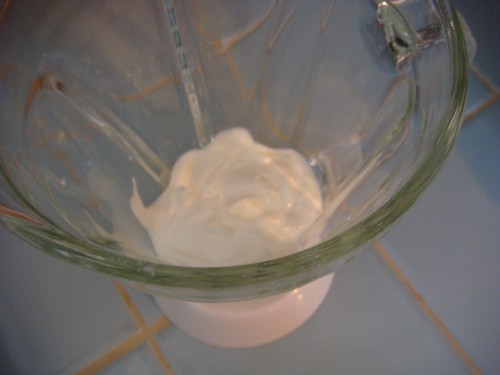
Notice I don’t have any amounts listed. That’s because I just eyeball it. If you’re making enough for one toddler, you probably need about 1.5 cups of yogurt. Put that in blender.
Now add a handful of fresh or frozen berries. Fresh is always better but frozen keeps your smoothie cold AND they keep longer. You can freeze fresh berries as well.
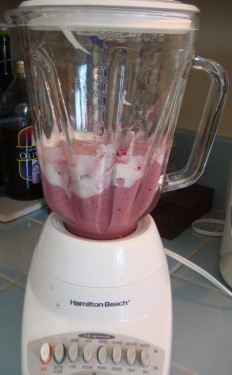
Now add whatever fruit you have on hand. I keep a few bananas in the freezer because they add a lot of sweetness to the smoothie. Mango is good too.
Finally, taste it and add honey to taste. I think I used about 1 or 2 tbsp this time. Don’t make it oversweet! Unless that’s how you like it. ![]()
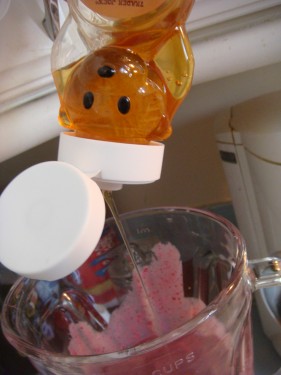
Taste, taste, taste before serving. And now for the judging…
