Hoo boy – I bought this head of cauliflower at the Farmer’s Market on Wednesday because it was $1.00. I thought I’d roast it and eat it, standing at the counter, while the kids ate their noodles. But then I realized, since I had a loaf of rustic bread all ready to pop into the oven, I better make a soup to go with it.

Last time I did a cauliflower soup, it was a creamy one with cheddar cheese and a potato. Alas, I had no potatoes having used them up in my Gardener’s Pie last week so I checked out another recipe. It was easy! I was able to do this while unloading the dishwasher, helping someone to various art supplies spread far & wide across the house, and picking up all the toys scattered across the backyard.
But I’m glad you didn’t see the kitchen/house afterwards!
YOU NEED:
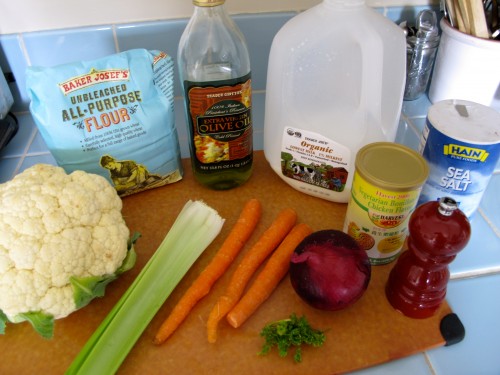
INGREDIENTS:
2 TBSP olive oil
1/2 onion, finely chopped
2-3 carrots, finely diced
2 celery stalks, finely diced
1-1/2 heads cauliflower, roughly chopped (I only had 1)
2 tsp fresh parsley (or 1 tsp dried parsley flakes)
2 quarts low-sodium vegetable broth (I used Vegetarian Chicken Bullion)
2 tsp dijon mustard
2/3 c grated cheddar cheese
4 TBSP butter
2 c whole milk
6 TBSP all purpose flour
OPTIONAL: 1 c half & half
1. Saute onion in olive oil over medium heat for 4-5 minutes, until browning, stirring occasionally.
2. Add carrots & celery and cook for another 4 minutes.
I used a red onion because I had it! To me, it made no difference.
Lookit how cute and tinily diced those carrots & celery are.
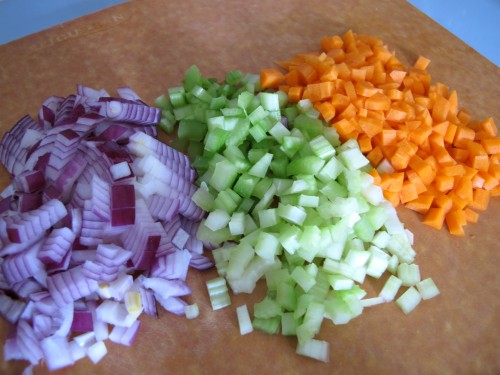
Tinily?
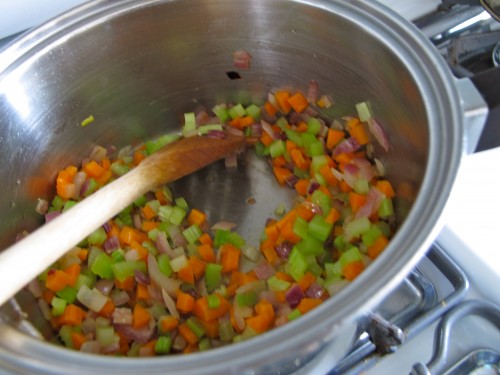
3. Add the cauliflower & parsley. Hoo boy it’s time for me to get a new parsley plant. I need two going at all times as my poor parsley can’t keep up with the demands placed upon it. This is all I could get!
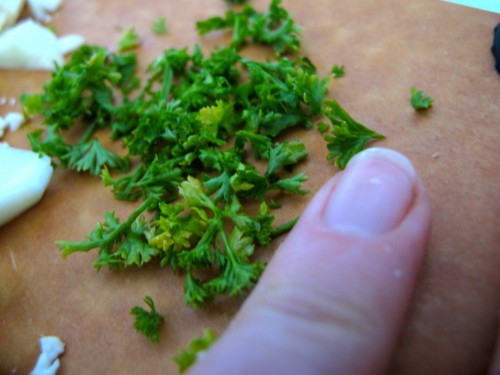
That “undead” finger is actually my pinky. So photogenic!
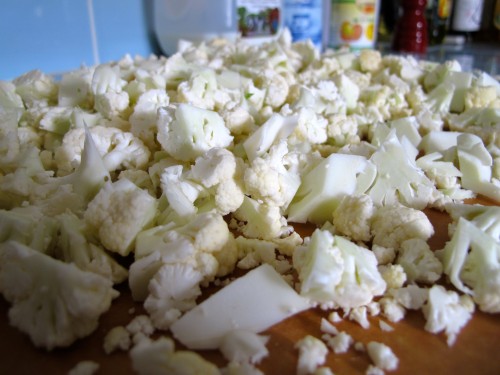
I only had one head of cauliflower but next time I’ll use 1-1/2 heads as my soup needed more.
Turn heat way down, cover & cook for about 15 minutes on LOW. Feel free to stir every so often.
4. Add 1 or 1-1/2 quarts of the broth. Save that last 1/2 quart to decide if you need it or not depending on how you like your soup. Heat to boiling, then turn down heat and simmer.
5. Melt butter in a small saucepan. I used the same soup pot I started my soup in until realizing that pot was way too small. So there are a few onions in there. No bigs!
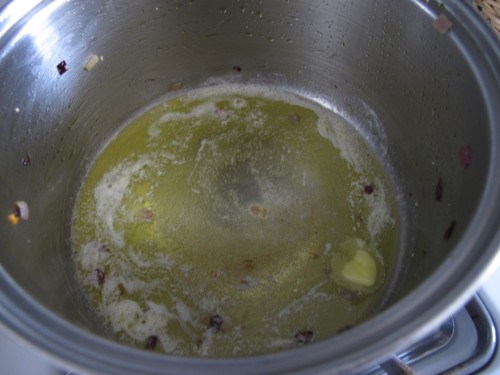
6. Now whisk your milk & flour together. Add that mixture to the melted butter, stirring to combine. **Now here’s an option for you: add 1 c half & half to the white sauce you just made. I didn’t do that b/c I never have half & half in my house.** You will have a thickened sauce. Pour that milk/flour/butter mixture into the soup and stir.
7. Add 2 tsp dijon mustard to the soup as well as 2/3 c grated cheddar cheese. I think mine needed the cheese because I used 1% milk instead of whole milk. If you use whole milk AND half & half, you might want to omit the cheese. Or add it! What, me worry?
Let soup simmer for another 15 minutes. Add salt & black pepper to taste!
Serve with rustic bread
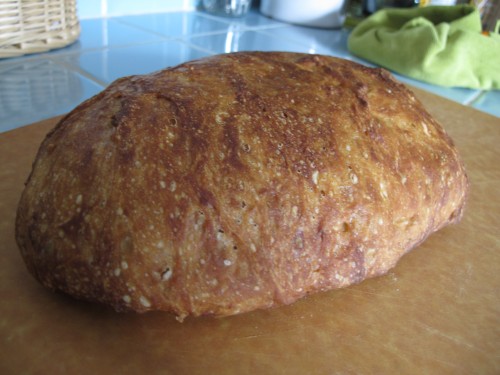
& grated cheddar to top.



Thank you.

Bea ate 2 bowls of soup. Btw: who noticed the dog bite on her (camera) left cheek?
- 2 TBSP olive oil
- ½ onion, finely chopped
- 2-3 carrots, finely diced
- 2 celery stalks, finely diced
- 1-1/2 heads cauliflower, roughly chopped (I only had 1)
- 2 tsp fresh parsley (or 1 tsp dried parsley flakes)
- 2 quarts low-sodium vegetable broth (I used Vegetarian Chicken Bullion)
- 2 tsp dijon mustard
- ⅔ c grated cheddar cheese
- 4 TBSP butter
- 2 c whole milk
- 6 TBSP all purpose flour
- OPTIONAL: 1 c half & half
- Saute onion in olive oil over medium heat for 4-5 minutes, until browning, stirring occasionally.
- Add carrots & celery and cook for another 4 minutes.
- Add the cauliflower & parsley.
- Turn heat way down, cover & cook for about 15 minutes on LOW. Feel free to stir every so often.
- Add 1 or 1-1/2 quarts of the broth. Save that last ½ quart to decide if you need it or not depending on how you like your soup. Heat to boiling, then turn down heat and simmer.
- Melt butter in a small saucepan.
- Now whisk your milk & flour together. Add that mixture to the melted butter, stirring to combine. **Now here’s an option for you: add 1 c half & half to the white sauce you just made. (For extra creaminess…)** Regardless of the half & half, you will have a thickened sauce. Pour that milk/flour/butter mixture into the soup and stir.
- Add 2 tsp dijon mustard to the soup as well as ⅔ c grated cheddar cheese. I think mine needed the cheese because I used 1% milk instead of whole milk. If you use whole milk AND half & half, you might want to omit the cheese. Or add it! What, me worry?
- Let soup simmer for another 15 minutes. Add salt & black pepper to taste!
- Serve with rustic bread & grated cheddar to top.
Adapted from two different recipes at The Pioneer Woman & Annie’s Eats.
