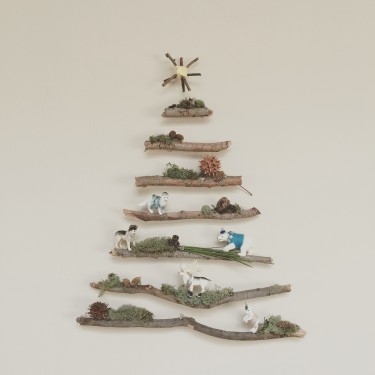
This is so cute. There are many variations on Pinterest. I think the original idea came from the Free People blog which is worth looking at.
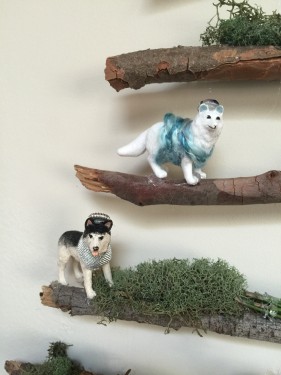
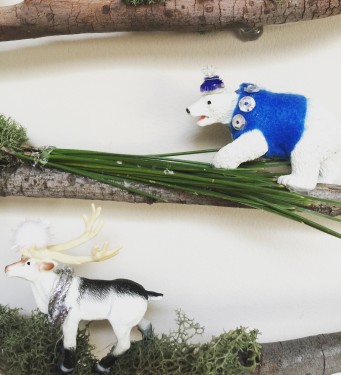
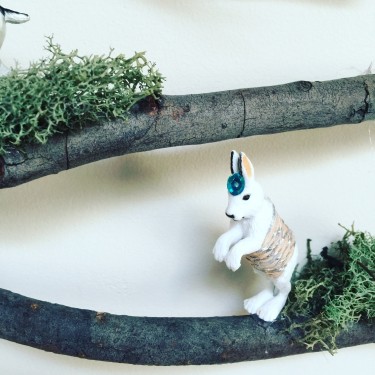
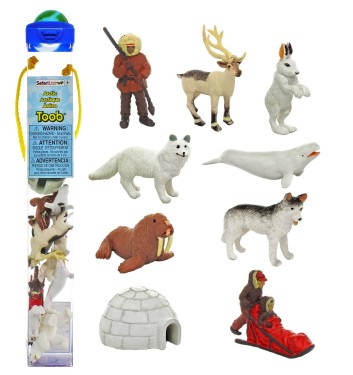
I had these animals – they were plastic animals in a tube called Safari Ltd Arctic Animals Toob
I was going to make some necklaces with them but never got around to it.
First they need some bling.
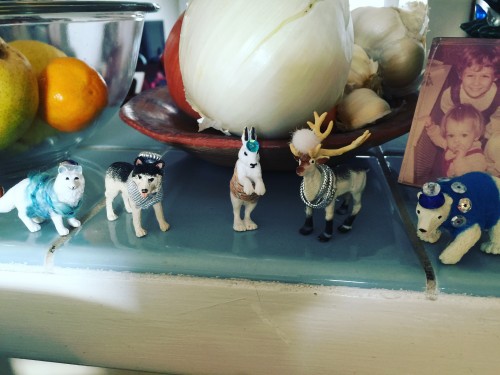
My girls started blinging out the rest of the animals in the house.
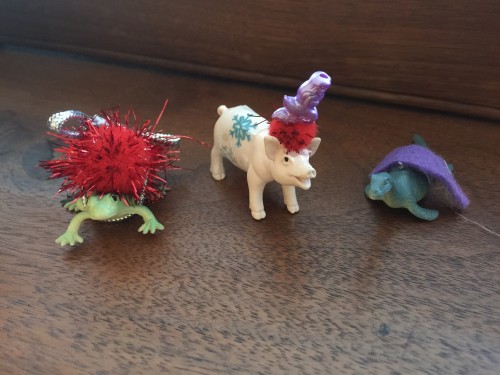
When they ran out of animals they took the dinosaurs out of the garage and got them done up too!
Basically I hot glued any tiny beads, felt, sequins, fine yarns or cording/string onto the animals – really anything I liked. I stuck to a blue/silver/white color scheme. Kids refused to adhere to that so their animals are not welcome on my tree. I had some old moss from Michael’s from a few years ago so I used that too. Oh and tiny pine cones from Clover Park.
Tiny white lights would be cute if I didn’t have to go shopping for them etc. etc. I have a tiny set but the battery pack is huge and I’m afraid its weight will tear the whole shebang off the wall.
Here’s what I used:
- 4 or 5 animals embellished (you don’t have to but it’s fun!)
- sequins/beads/string/felt/fabric scraps etc for embellishment
- small to large sticks. Thick enough to hold some stuff on them. I was lucky – I collected so many I didn’t have to cut any.
- thumb tacks
- hot glue gun & tons of glue sticks
- moss
- tiny seeds/pinecones etc that can be found outside
You can get anything at Michael’s that can’t be found outside.
1. I laid out the sticks on the table.
2. I held them to the wall one at a time to see how they would best lay against the wall. I picked two spots that would touch the wall and squirted a big blob of hot glue there and stuck the back of the thumbtack in the blob. Then I used a hammer to hammer the whole kit and caboodle to the wall. Sometimes the thumbtack cracked off or fell off but at least I had the placement and could just hammer the thumbtack into the wall then hot glut the stick onto the thumbtack again.
3. I made the little star out of some tiny twigs I had – I just wrapped yard around them to hold them together. Kind of like starting a God’s eye. You could also make a tiny stick star and paint it gold etc! Or make a yellow/gold god’s eye! Add glitter!!!
4. Now the fun part, add moss/seeds/shells/nuts etc. with hot glue. Finally glue your animals on. Mine are Narnia inspired.
I love how it came out!
