

This trip to Barcelona wasn’t my first. I had spent a few days there just after college when I was working in London. However, I only spent two nights and...
The morning after losing the passports we packed up our stuff in a jiffy and took a cab to the US Embassy where we were soon engaged in a 4...
We just spent a month in Spain and I want to write down as much as I can before I forget it. It’s been over 10 years since I’ve travelled...
My friend and I attended this event on February 18th. We missed the march and joined the rally at City Hall in downtown LA. It was a much smaller crowd...
We started out at my sister’s house. My niece had a day off of work so we grabbed her and headed to South Street. The last time I’d been there...
This is so cute. There are many variations on Pinterest. I think the original idea came from the Free People blog which is worth looking at. I had these animals...
Last fall when I heard about the Ice Bucket Challenge I claimed to have felt bullied into donating since I didn’t want to make a spectacle of myself on Facebook....
After 20 years in the Castro, my dad decided to leave for a flatter, easier life. St. Allison met me in San Francisco a couple of weeks ago to help...
We braced ourselves for the start of kinder this year. After all, we knew how pre-school had gone two years prior. She only cried every day for 1.5 years of...
It’s getting HOT and making pasta every night is killing me. I’ve been trying to branch out to more salads now that it’s summer. This is a really tasty dish...
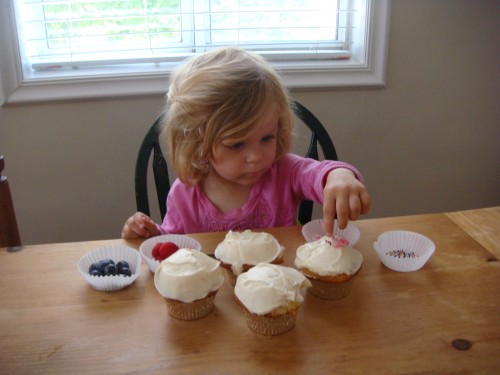
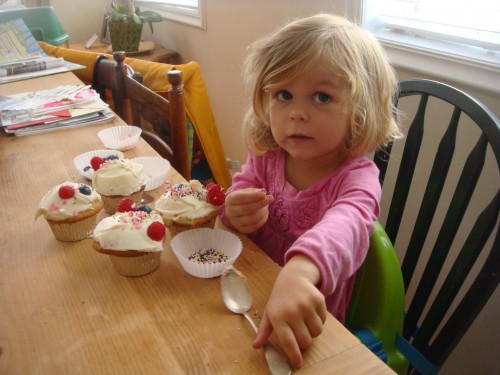
Yesterday Maddie told me about a cupcake she had at daycare. It was sooooooooo good (according to her) that she wanted to make some today. I got this recipe from The Pioneer Woman site. They are E-Z and yum-ee. The directions below are taken almost verbatim from her site except for small notes & tweaks.
You need these ingredients for the cake part:
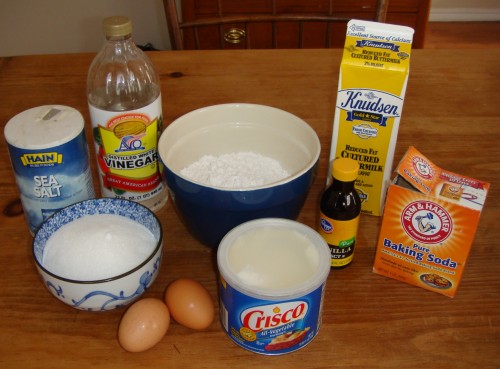
CUPCAKES:
1 cup vegetable shortening
1-¾ cup sugar
2-½ cups cake flour
1-¼ tsp salt
2 whole large eggs
1 cup buttermilk
2-½ teaspoons vanilla extract
1 teaspoon baking soda
1-½ teaspoon vinegar (I used white)
**NOTE: You won’t make the icing until the cupcakes are completely cooled BUT you might want to take this time to set the stick of butter and 8oz package of cream cheese out to soften at room temp.**
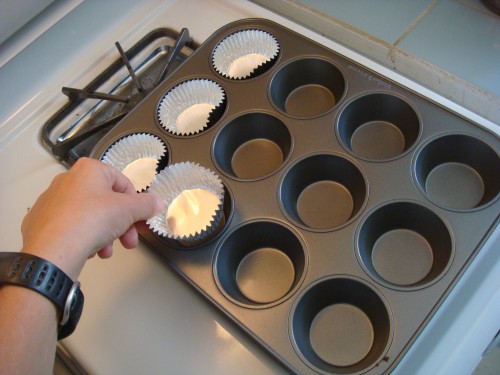
Preheat oven to 350. Line 18 muffin cups with cupcake liners.
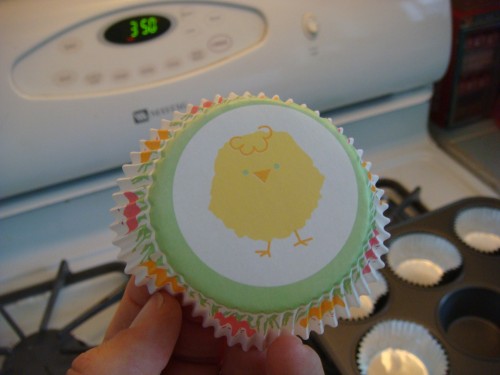
Aren’t these cute?
In a LARGE bowl, cream shortening & sugar together until fluffy. I used a medium bowl and I paid for it later.
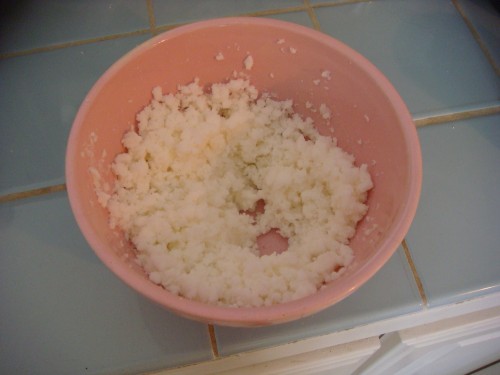
In another bowl sift flour & salt together.
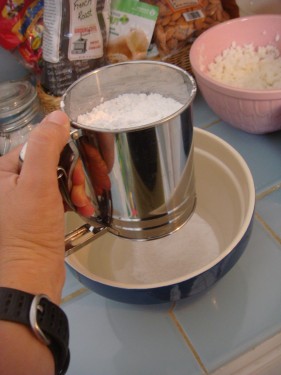
Look at those hands -somebody send me my AARP card, pronto!
In yet ANOTHER bowl, mix eggs, buttermilk, vanilla, baking soda & vinegar. I actually used 2% milk here b/c my buttermilk was gnarly having been over a week past the “enjoy by” date. You can also easily make your own buttermilk but I was racing against Bea’s nap clock & feeding Maddie lunch and couldn’t spare the time needed to give myself a refresher on how to do that.
Where was I? Oh yeah, the reason for the large bowl will be illuminated (Everything is Illuminated by Jonathan Safran Foer – which incidentally, I did NOT yet read.) right NOW! Start mixing the flour mixture and buttermilk mixture alternately into the shortening mixture until fully combined.
Creamy good!
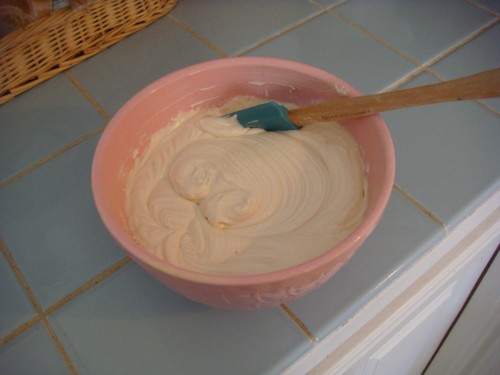
Before pouring them, we added food coloring to half the batter to make some pink cupcakes. Ooo la la! Have you noticed that some little girls like pink?
Spoon or pour (mine was a little too thick to pour) into cupcake liners.
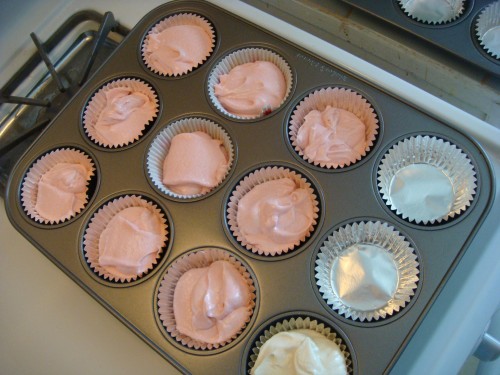
Note: this recipe is for 18 cupcakes but I think you could make 20 cupcakes as I had batter spillage. We live and we learn. Bake for 17-20 minutes. Remove from pan and let cool completely.
ICING:
1 stick butter, softened
1 package (8 ounce) cream cheese, softened
4 c sifted powdered sugar
¼ teaspoons salt
3 teaspoons vanilla extract
**Note: Although I laid it on thick (the icing that is) I was left with a little over a cup. You can probably cut this icing recipe down some but only if you’re REALLY good at math(s)!**
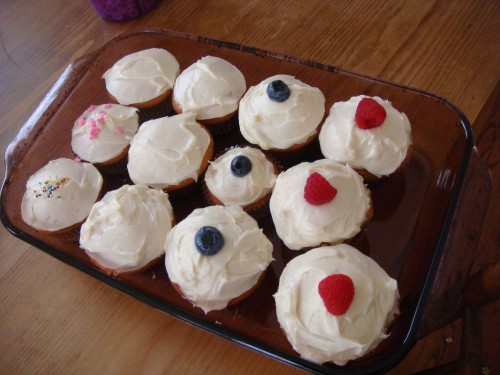
Combine all ingredients in mixing bowl completely. Ice cooled cupcakes.
Think olive green & sunset yellow kitchen accents. Think bumpy blue water glasses. Think Betty Crocker Cookbook. Imagine all this and you can almost taste the 1950′s wholesome deliciousness. Plus, people old & new tend to like it including one of the pickiest 2 year olds you ever met.
I got this recipe from my brother-in-law, John, and I made a few changes to it mostly because I either forgot to buy an ingredient (when I went to Ralph’s ONLY to buy that ingredient), or because my husband “doesn’t eat fungus” or because I was trying to express my Santa Monica-ness by substituting wheat spaghetti for regular spaghetti. Don’t hate me for it. At least it was Ralph’s brand wheat spaghetti.
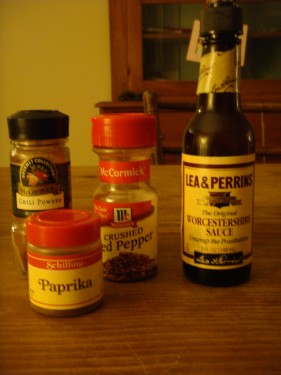
You’ll need these:
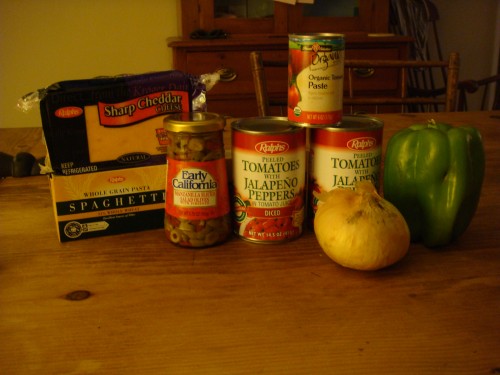
Oh yeah, and these too:
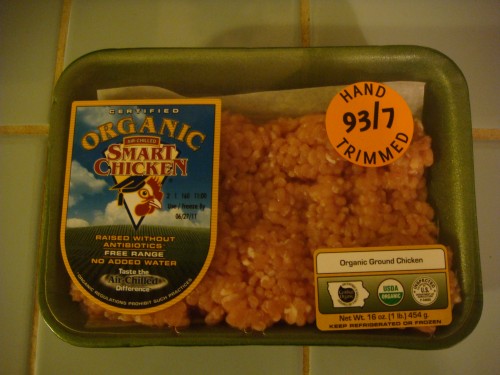
And, this (can be ground hamburger/turkey/tofu or you can omit this entirely):
Ingredients:
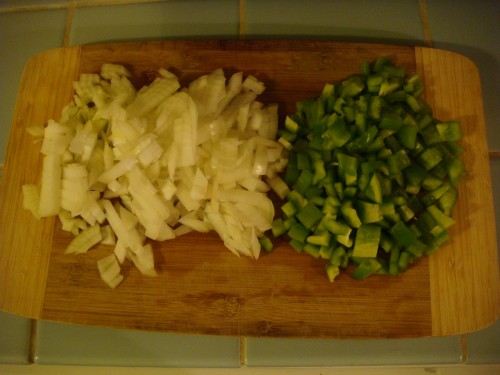
1 small onion chopped
1 green pepper chopped
1 lb ground meat/tofu
1 lb spaghetti – drained (undercook slightly) **I break it in half so my toddler doesn’t have to struggle with it later & so I don’t have to clean the floors after dinner.**
1 7oz jar chopped olives – green w/pimentos (trust me on this)
2 14.5oz cans diced tomatoes (I used the ones with jalapenos for a kick)
1 can tomato paste
1 tbsp Worcestershire sauce
1/2 tsp chili powder
1/2 tsp paprika
3/4 lb mild cheese (mozzarella or Mexican blend – really whatever is on hand!)
**If you like it spicy – add crushed red pepper!**
In a large saucepan, saute the onion & green pepper in oil.
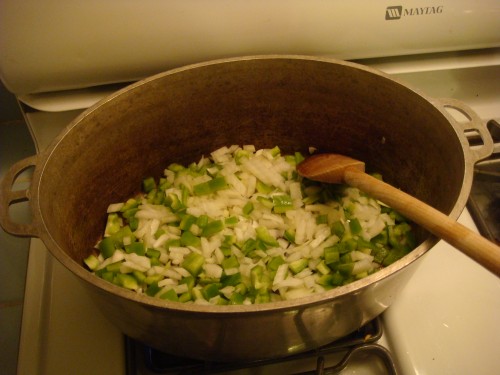
When they are soft/translucent, add the ground meat if you go that route.
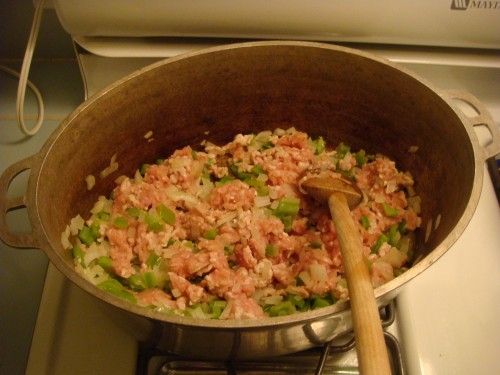
When meat is cooked through, add spices & Worcestershire sauce. Stir. Add tomatoes, paste, olives.
In a casserole/lasagna dish (large one) ladle thin layer of sauce to coat bottom. Wait, that looks like a THICK layer. Don’t do yours as thick. Do as I say, not as I do.
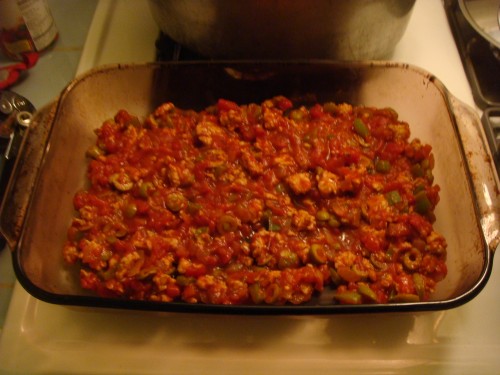
Spread half the cooked/drained spaghetti evenly.
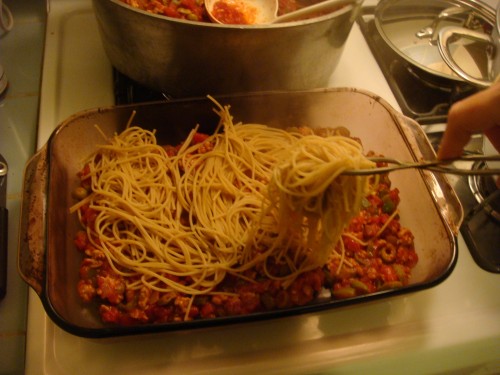
Top with half the remaining sauce. Cover with half the cheese. Now spread the rest of the spaghetti evenly, topped by the rest of the sauce & the rest of the cheese on top.
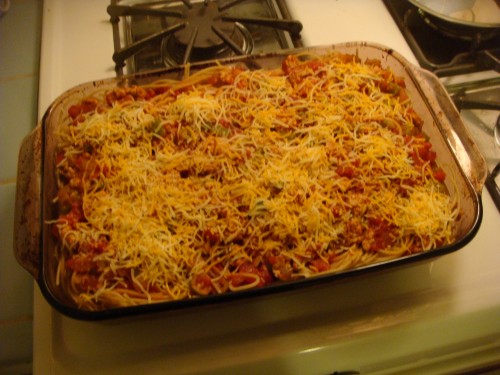
Cover with aluminum foil & put in fridge over night. This has to SIT. You think I’m kidding? The first time I made this I didn’t believe it either and baked & served it the same night. It wasn’t as good. But you can make your own decision! My advice: leave it over night (is that one or two words?) – then bake at 350 for 45 mins. the next night for dinner. Remember to take the foil off after 30 mins. You can also sprinkle some fresh parmesan on at that time!
Enjoy!
Father’s Day was REALLY relaxing for George this year!
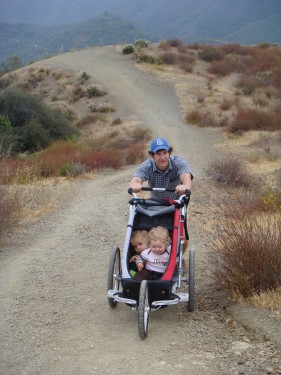
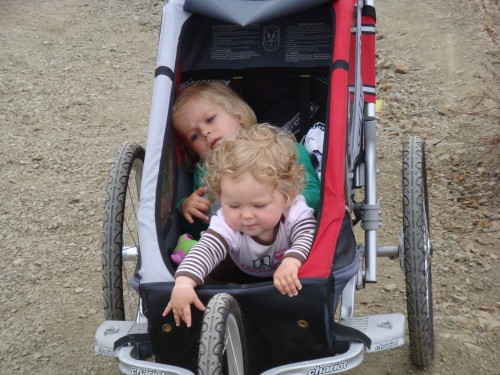
Pushing about 90 pounds up hill.
Bea thought 10 fingers were too many fingers…
Maddie picked her own hiking outfit.
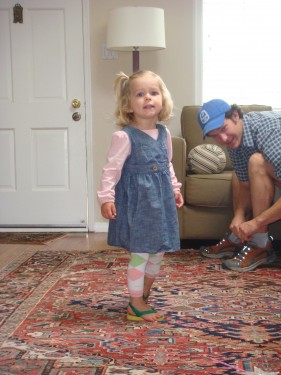
Sensible shoes.
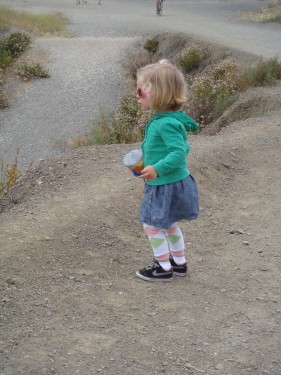
But finally agreed it was difficult to keep sand out of the flip flops.
When Bea’s head & toes started rubbing on her bassinet we decided it was time to move her into Maddie’s room/crib. Where would Maddie sleep? After shopping IKEA and various other furniture stores and ending up eating at Chipotle with an empty flatbed and two whiny children we decided to put Maddie on the futon mattress on the floor and Bea in Maddie’s crib. First nap went smoothly!
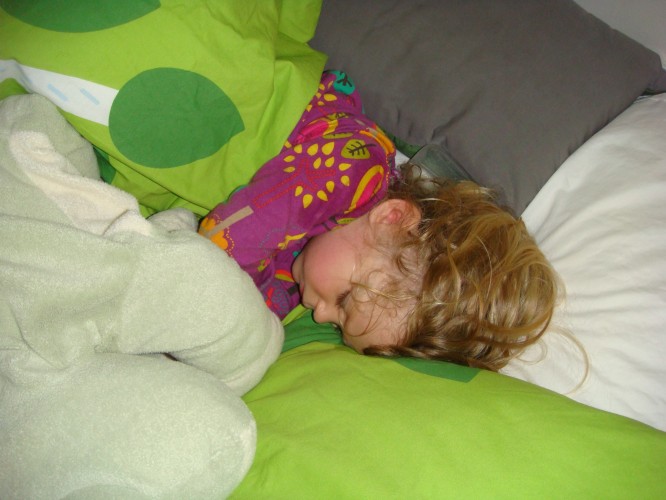
Believe it or not, she’s in there (behind the frog pillow).
I think the duvet was a little toasty!
