This is so cute. There are many variations on Pinterest. I think the original idea came from the Free People blog which is worth looking at.
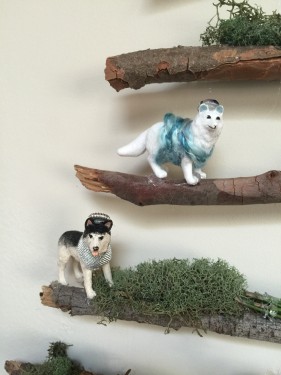
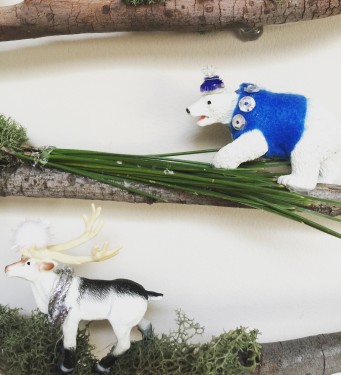
I had these animals – they were plastic animals in a tube called Safari Ltd Arctic Animals Toob
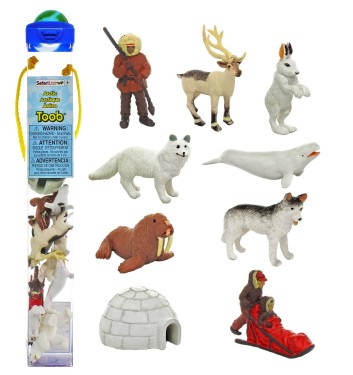
I was going to make some necklaces with them but never got around to it.
First they need some bling.
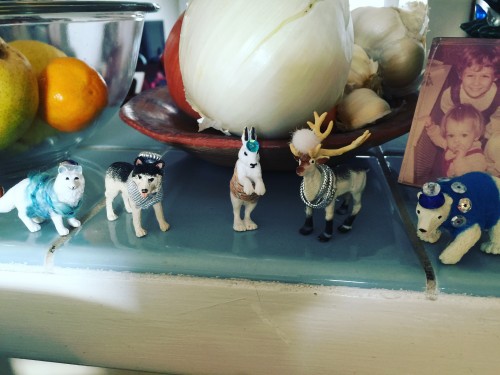
My girls started blinging out the rest of the animals in the house.
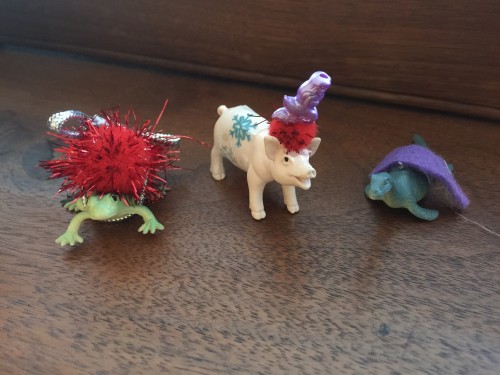
When they ran out of animals they took the dinosaurs out of the garage and got them done up too!
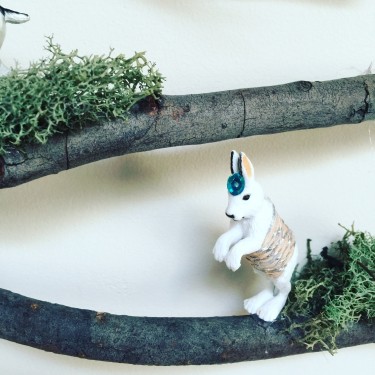
Basically I hot glued any tiny beads, felt, sequins, fine yarns or cording/string onto the animals – really anything I liked. I stuck to a blue/silver/white color scheme. Kids refused to adhere to that so their animals are not welcome on my tree. I had some old moss from Michael’s from a few years ago so I used that too. Oh and tiny pine cones from Clover Park.
Tiny white lights would be cute if I didn’t have to go shopping for them etc. etc. I have a tiny set but the battery pack is huge and I’m afraid its weight will tear the whole shebang off the wall.
Here’s what I used:
- 4 or 5 animals embellished (you don’t have to but it’s fun!)
- sequins/beads/string/felt/fabric scraps etc for embellishment
- small to large sticks. Thick enough to hold some stuff on them. I was lucky – I collected so many I didn’t have to cut any.
- thumb tacks
- hot glue gun & tons of glue sticks
- moss
- tiny seeds/pinecones etc that can be found outside
You can get anything at Michael’s that can’t be found outside.
1. I laid out the sticks on the table.
2. I held them to the wall one at a time to see how they would best lay against the wall. I picked two spots that would touch the wall and squirted a big blob of hot glue there and stuck the back of the thumbtack in the blob. Then I used a hammer to hammer the whole kit and caboodle to the wall. Sometimes the thumbtack cracked off or fell off but at least I had the placement and could just hammer the thumbtack into the wall then hot glut the stick onto the thumbtack again.
3. I made the little star out of some tiny twigs I had – I just wrapped yard around them to hold them together. Kind of like starting a God’s eye. You could also make a tiny stick star and paint it gold etc! Or make a yellow/gold god’s eye! Add glitter!!!
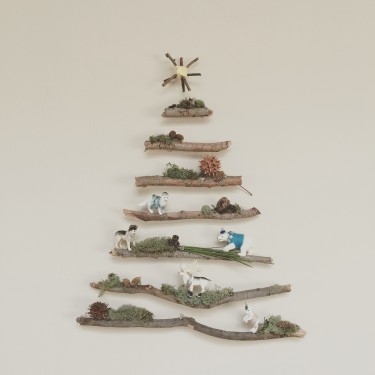
4. Now the fun part, add moss/seeds/shells/nuts etc. with hot glue. Finally glue your animals on. Mine are Narnia inspired.
I love how it came out!
A year or two ago I schlepped Maddie over to Westside Pavilion to the art class at Gymboree. The teacher was really good. M wasn’t so good. So we took a break. I didn’t hear great things about the art at Joslyn Park so I waited. We tried Gymboree again. New teacher and what seemed like budget cuts. “Everybody share this gram of glue!” “2 sequins per child.” It was ridiculous. If I have to be INSIDE THE MALL every single Friday afternoon, my child’s project better be spangly & shiny like the 4th of July night sky. So we stopped that after a month. M kept bringing up how much she loved art, and to quell my panic at the thought of going to the mall EVERY SINGLE WEEK, I signed her up for the class run through Santa Monica RecEnroll at Joslyn Park. Even if it’s no good, at least the kids can play outside afterwards.
Expecting the worst we trucked on over there.
We got lucky! SmART Space took over the art program. The teacher, Juliet Curry, is excellent! Organized, friendly and talented, she ALSO is the proud mother to a 2 year old girl (which doesn’t mean she’s a better teacher but it means she probably understands how I feel when my 2 year old exhibits “certain” behaviors in her class.)
I was really impressed by the structure of the class, the materials & Juliet’s skill at working with children between 2 and 4 years old. Since my kids are 2 and 4, I enrolled them both.
Her class schedule is just structured enough for these age groups:
1. Independent book time (art books in a basket on the floor)
2. Circle time to say hello, stretch, introduce everyone & discuss the project
3. Project
4. When/if-you’re-done 2nd project
5. Circle time to hand back projects, get a sticker & say goodbye
Examples of class topics & projects:
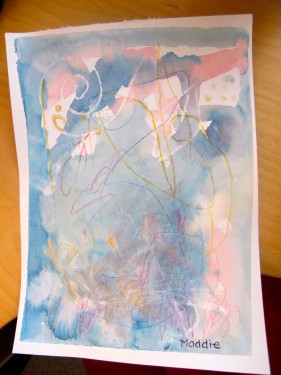
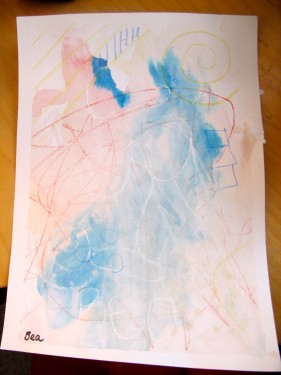
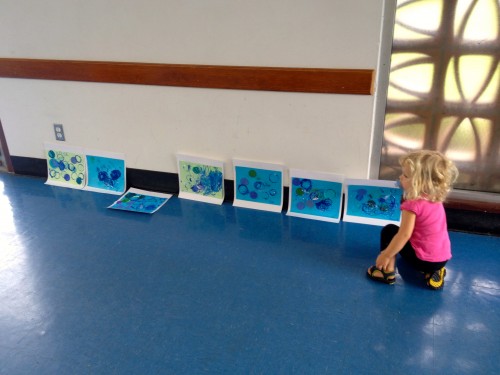
1. Introduction to Wassily Kandinsky’s abstract art.
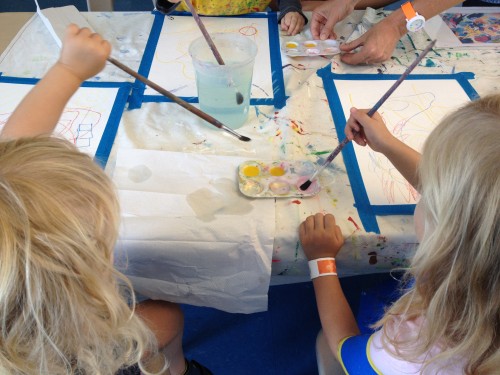
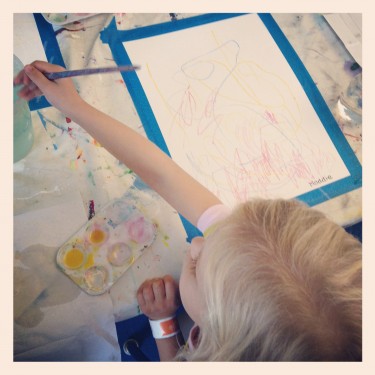
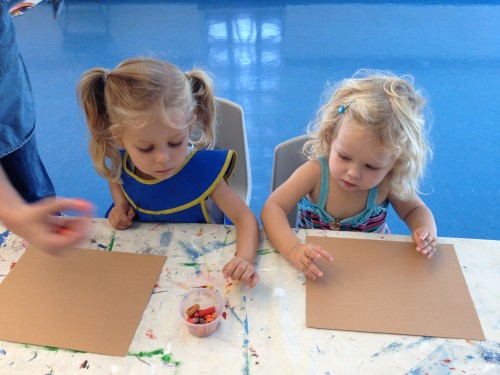
The finished paintings:
2. Printmaking
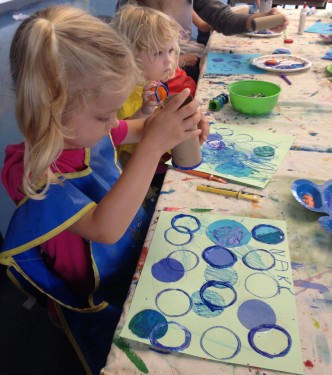
Maddie’s name was NAAAK or something like that.
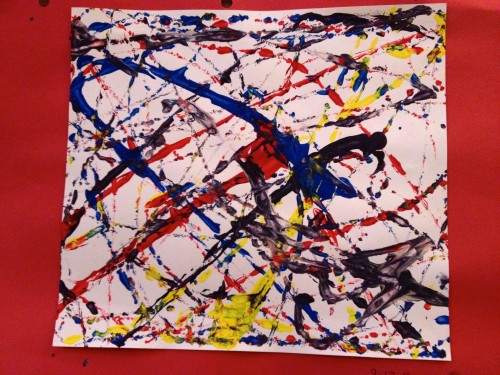
3. “Action Painting”::Intro to Abstract Expressionism & Jackson Pollock
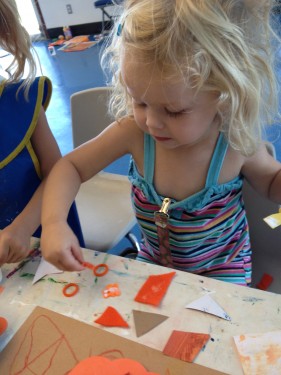
4. Halloween Collage
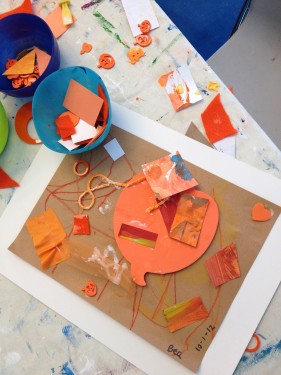
5. Autumn Leaf Rubbing
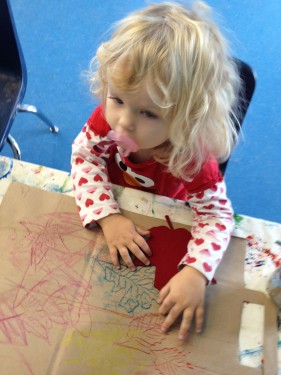
6. Indian Corn Printmaking & Collage
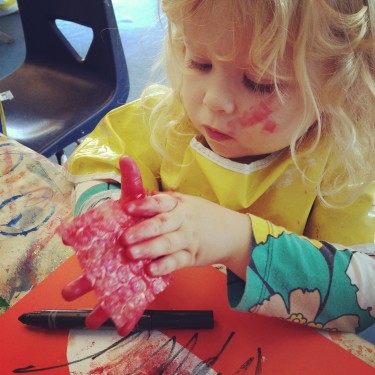
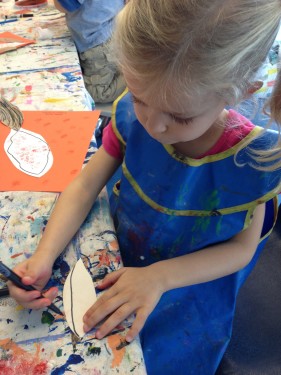
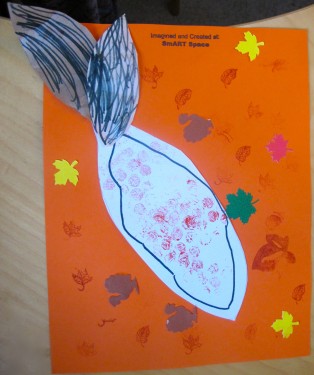
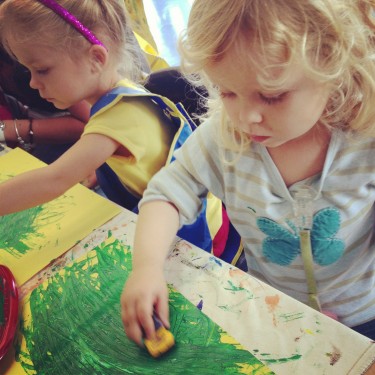
7. Free Expression (painting by running a Matchbox car through paint!)
After class we eat lunch in the playground.
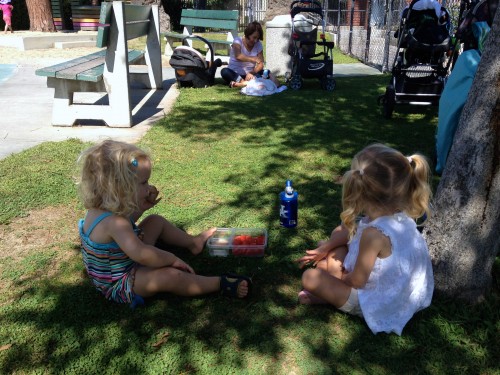
It was very hot this day.
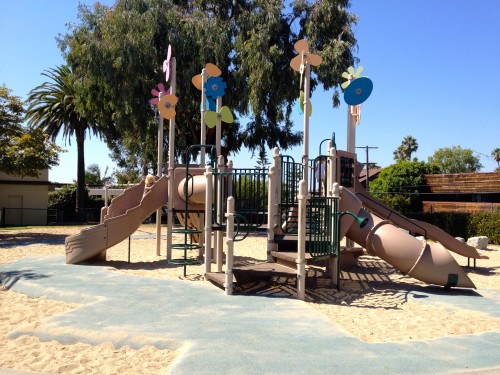
Normally the playground is pretty full but it was naptime AND I snapped it the second it was empty in case people didn’t want their kids on the internet.
Maddie is so happy with this class. Which is saying a lot since she is a real Mama’s girl who can be pretty moody. Bea? Bea loves using paint, whether she’s supposed to or not.
Next session starts in January. Look for the name “SmART Space” in the name when you are browsing the classes.
Classes are available both in Santa Monica through RecEnroll AND in Culver City. Here is a link to the SmART Space LA site to check out the prices/schedules:
Click here for SmART Space LA class info!
REGISTER TODAY!
City of Santa Monica Community Programs
1527 4th Street, Room 101, Santa Monica, Ca 90401
Registration Phone: 310-458-2239
https://recenroll.smgov.net


