


This trip to Barcelona wasn’t my first. I had spent a few days there just after college when I was working in London. However, I only spent two nights and...
The morning after losing the passports we packed up our stuff in a jiffy and took a cab to the US Embassy where we were soon engaged in a 4...
We just spent a month in Spain and I want to write down as much as I can before I forget it. It’s been over 10 years since I’ve travelled...
My friend and I attended this event on February 18th. We missed the march and joined the rally at City Hall in downtown LA. It was a much smaller crowd...
We started out at my sister’s house. My niece had a day off of work so we grabbed her and headed to South Street. The last time I’d been there...
This is so cute. There are many variations on Pinterest. I think the original idea came from the Free People blog which is worth looking at. I had these animals...
Last fall when I heard about the Ice Bucket Challenge I claimed to have felt bullied into donating since I didn’t want to make a spectacle of myself on Facebook....
After 20 years in the Castro, my dad decided to leave for a flatter, easier life. St. Allison met me in San Francisco a couple of weeks ago to help...
We braced ourselves for the start of kinder this year. After all, we knew how pre-school had gone two years prior. She only cried every day for 1.5 years of...
It’s getting HOT and making pasta every night is killing me. I’ve been trying to branch out to more salads now that it’s summer. This is a really tasty dish...
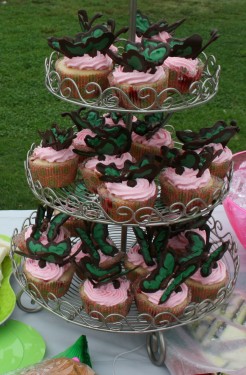
Maddie wanted “flowers & butterflies” at her birthday. I found this idea on Pure & Yummy. It was surprisingly easy. Between these & the store-bought Breakstone’s French Onion Dip
it was my most asked about recipe at the party. Really people? Store bought onion dip? (But honestly, I love it too!)
Here’s what you need for the strawberry lemonade cupcakes (filthy toaster not included):
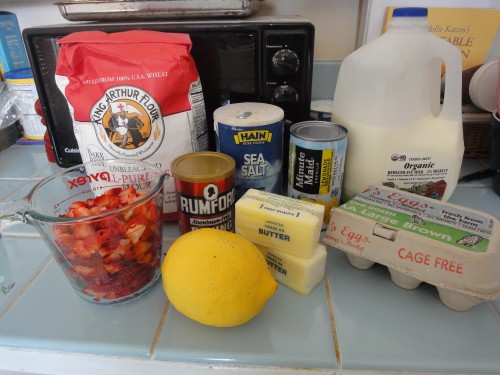
CUPCAKE INGREDIENTS:
2 1/4 c flour
1.5 tsp baking powder
3/4 tsp salt
2 tsp lemon zest
12 tbsp unsalted butter, room temp
1.5 c sugar
2 eggs
3/4 c milk
2 c fresh strawberries, chopped
For syrup:
1 c lemonade concentrate, thawed
3/4 c confectioner’s sugar
Get started!
1. While you are preheating the oven to 325, look at the clock.
 What? Only 10:37PM? PERFECT time to start making these for tomorrow!
2. Combine flour, baking soda, salt & lemon zest
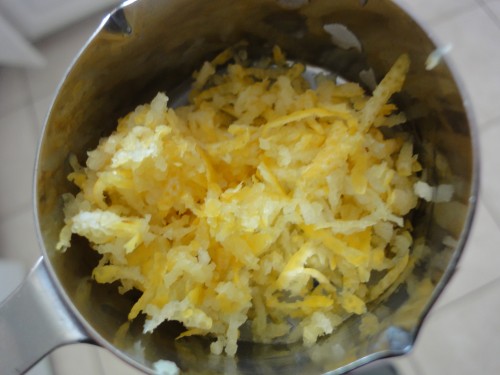
Zesty!
in a bowl.
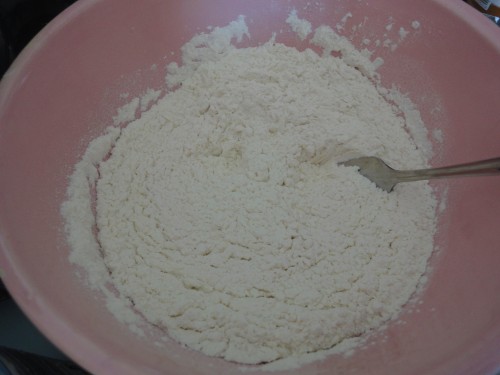
3. In a separate bowl, beat the butter until it is fluffy.
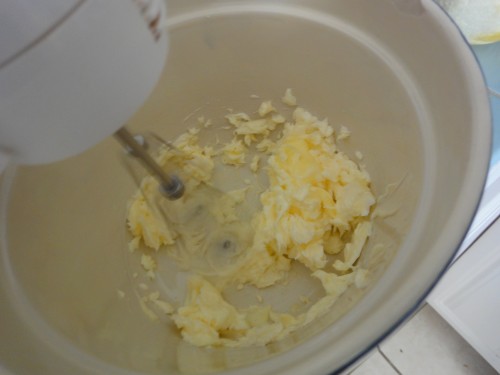
4. Add sugar and eggs (one at a time).
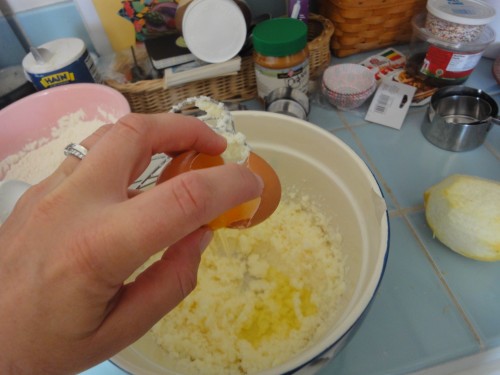
5. Add half of the flour mixture & mix on a low speed.
(Someone forgot to take pictures of the next few steps. I was “in the zone” i.e. tired.)
6. Add milk and mix until smooth.
7. Finally, add the remaining flour mixture & mix on low until JUST blended.
8. Fold in strawberries.
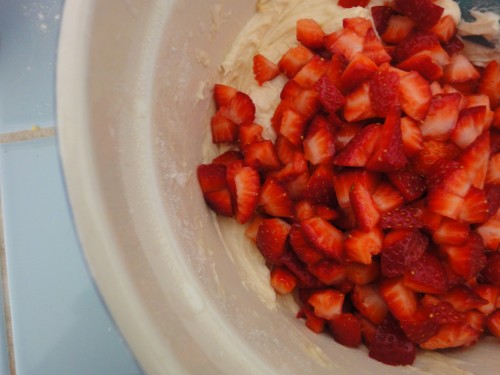
Now spoon mixture into the paper liners
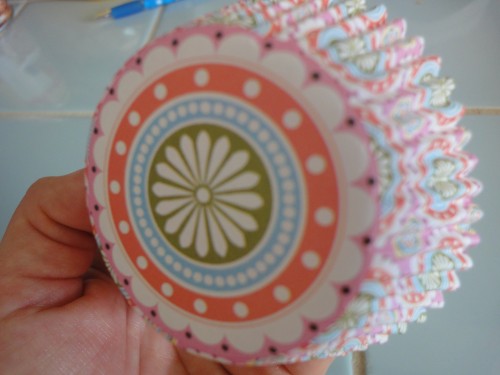
Bottom
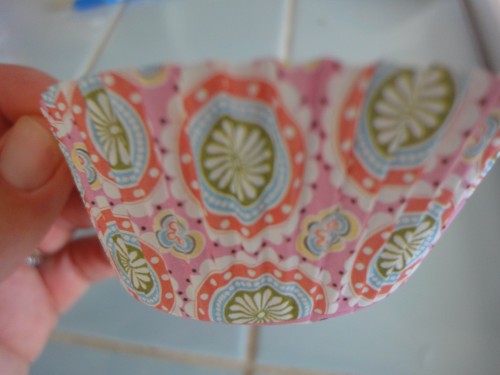
Side
about 3/4 of the way to the top.
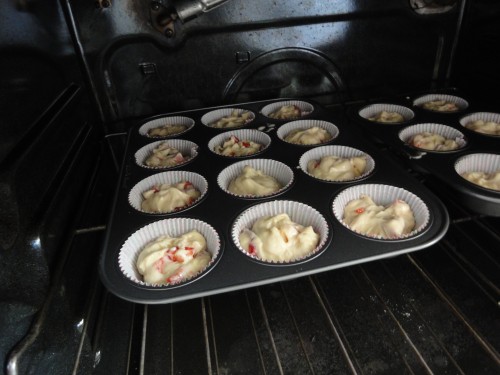
You should have 24 cupcakes.
Bake for 20-25 minutes. I did the toothpick test- it should come out clean. Allow cupcakes to cool.
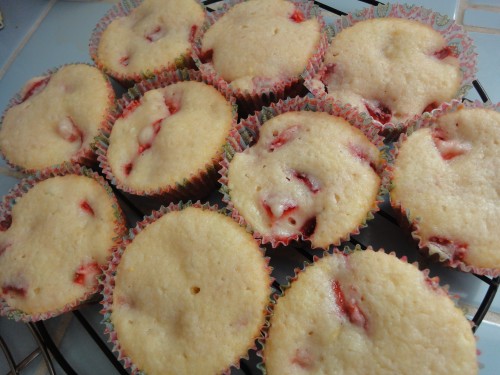
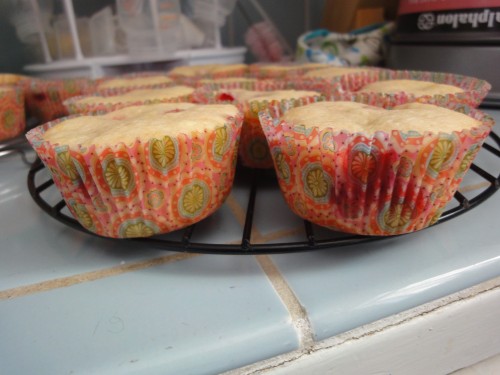
Now you’re ready to make the syrup! Get out your “ingredientses” (as Teresa Giudice calls them):
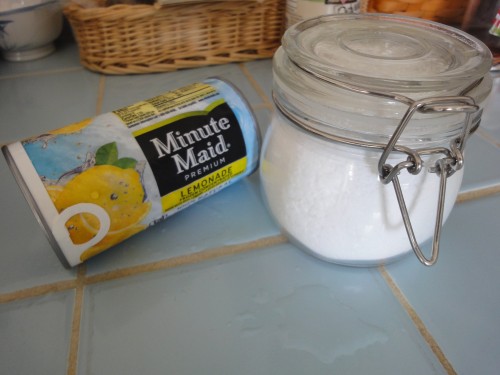
This is really easy: just whisk together the confectioner sugar & lemonade concentrate in a small bowl. With a toothpick, make holes in each cupcake (deep holes as you are going to saturate each cupcake by drizzling the icing over the tops and into those deep holes (that’s what he said.) How many holes? I dunno – 6-8? 4-10? Whatever you’re up for! In the original recipe she made mini cupcakes but I made standard sized so you decide! WARNING: this is likely to make a sticky mess so put something under the cupcakes to catch that stuff unless you really love cleaning & re-cleaning your counters.
I made a plain vanilla buttercream for the frosting because I wanted something firm and less sweet (HAHA!! – RIGHT!) that could hold up those butterflies. This is SO easy and I completely forgot to take pix. I added fuschia food coloring to it and voila! I had pink frosting upon which a butterfly could light. (Light?)
Anyway, here’s a link to the recipe!
Make sure your frosting is firm enough to hold the butterflies. Just add powdered sugar until it’ll work!
How did I make those dad-blamed butterflies, you ask?
First, all you need is:
1. Wilton’s Candy Melts (whichever color(s) you like) for the WINGS. (From Michael’s or Party City or you can even order online.) I had green & brown.
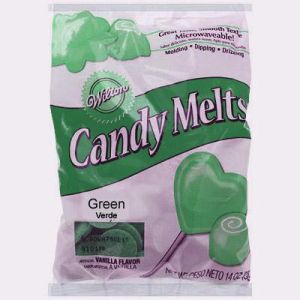
2. Store-bought frosting for the BODIES.

3. White or colored non-pareils (which I totally forgot to add)
4. A couple of Ziploc bags.
Here’s what you do:
1. Cut up pieces of wax paper. A piece for each set of wings and another little piece for each antenna. Put them on whatever surface you plan to use to cool them.
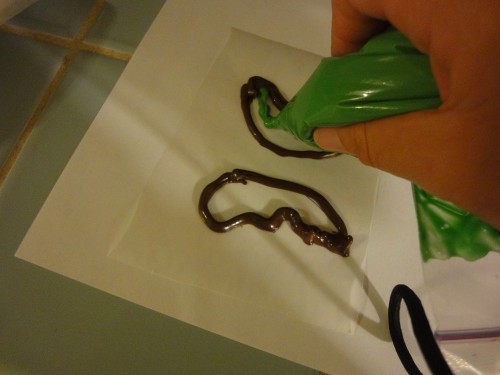
2. Add about 1/2 cup brown (or whatever will be your OUTLINE) candy melts to a Ziploc bag. Follow the directions on the Wilton’s bag. It will tell you how long to microwave, then massage/mix, microwave some more. When it is all melted and gooey, close the Ziploc and cut a corner off of it.
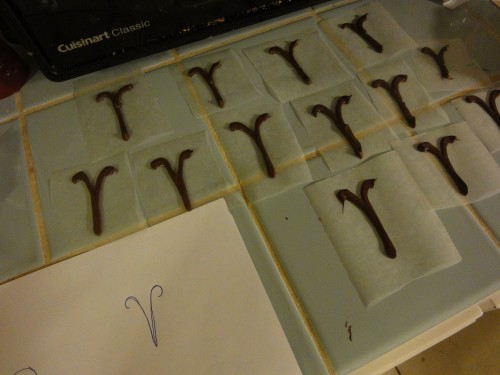
3. Put your drawing or printout of the wings/antenna under each wax paper so that you can trace it with the melted candy. Apparently I did not take pix of this but I will attach a PDF of my drawing in case you want it. Trace the outline of the wings and antennae (they should not be connected).
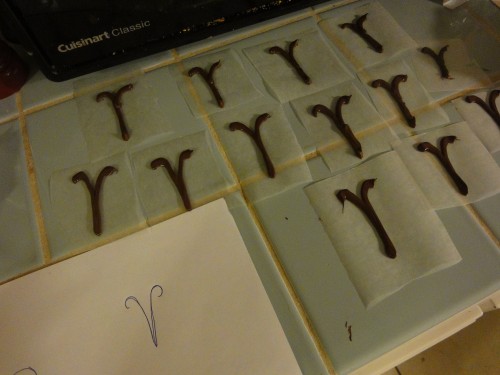
Antennae
4. Now melt whatever colored candy melts you got in another Zip-lock. This will be what you use to “color” the wings. Just fill in between the lines. Don’t worry about being too perfect. Thank garsh I got a pic of this!
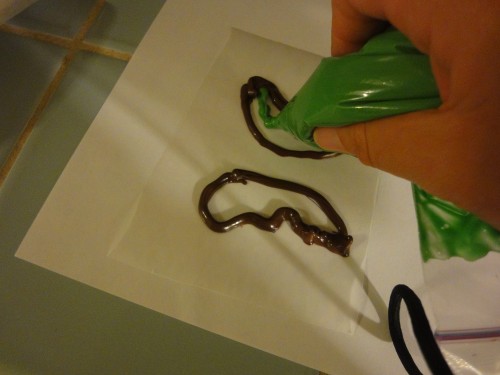
You’ll get the hang of it quickly!
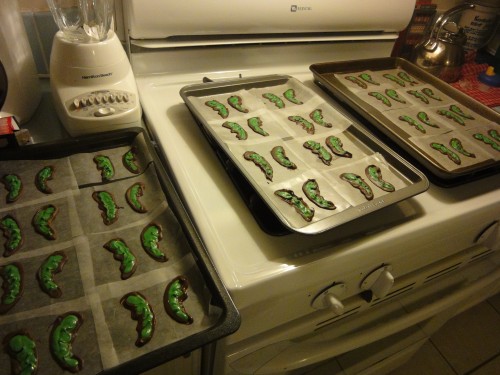
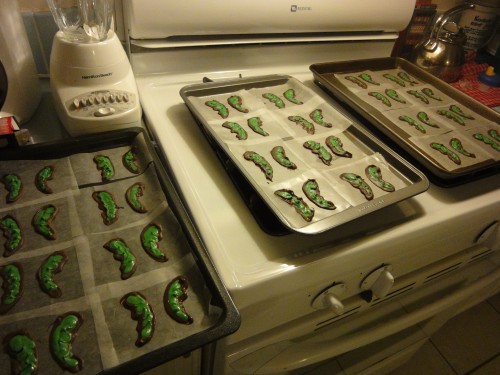
Buttload of wings!
5. Let them cool. I actually made these the night before and left them out. Out of reach, that is, of tiny hands.
6. Frost your cupcakes. I used Wilton’s cheapest disposable bags with tips that didn’t even fit! I just forced the tips in and hoped for the best! After frosting the cupcakes (making sure my frosting was on the “stiff” side) I stuck the wings in and using a small round tip and another frosting bag I connected the wings with the brown bodies. What did I make the brown bodies with, you ask? Good question! I used that Duncan Hines store-bought chocolate frosting. It’s very firm and since you barely need any of it, who gives a fig if it’s not homemade? Who’s gonna notice? Then stick the antennae in however you like them!
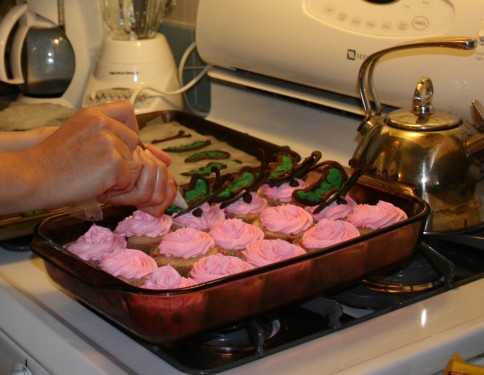
Thank garsh only my hands are in the picture at that hour!
I wish I had more photos of the decorating steps. That part was done in the morning up against the clock so I had no time for fanciful pix. But I’m sure to do it again and will leave myself more time. Or not!
Don’t worry too much about these – they’ll look cute – you don’t have to be a perfectionist about them. I saw other versions of these that were VERY cute with different colored butterflies, each matching its own cupcake. That was way too ambitious for me, not to mention both Michael’s & Party City were out of pink candy melts.
The butterfly idea came originally from a book called Hello, Cupcake! via Pure & Yummy.
Here’s where I got stuff:
- cupcake tray – TJMaxx
- Wilton’s Candy Melts & napkins, plates, etc.(Party City)
- Frosting bags & tips (Michael’s)
REFLECTION:
Next time I will cut out 1/2 cup of the sugar in the cupcake recipe. It is just too sweet though I got TONS of compliments on them. I don’t think anyone would notice if it were gone.
I think that covers it! Please comment below if you have any questions, if I forgot anything. I probably did!
A quick trip to Marina del Rey Garden Center this morning to pick up a pumpkin. I am NOT getting paid to say this but they were SO friendly! They took our picture, gave our kids candy (thanks a LOT) and let us loose to find the bunnies (who were, unfortunately, napping.)


Why on Earth would anyone be baking ANYTHING here in Los Angeles? It’s in the high 80′s already at 11AM. I had this baked oatmeal in mind last weekend or week when it was getting cool & fall-like out and since I had all the ingredients, I went for it!
This recipe is great for a wholesome breakfast that can be reheated. Make it Sunday night and you have breakfast ready for the week!
Here’s what you need:
(I don’t necessarily recommend Skim Milk – it’s just that’s all I had in the house. I would use 2% or whole depending who you’re cooking for.)
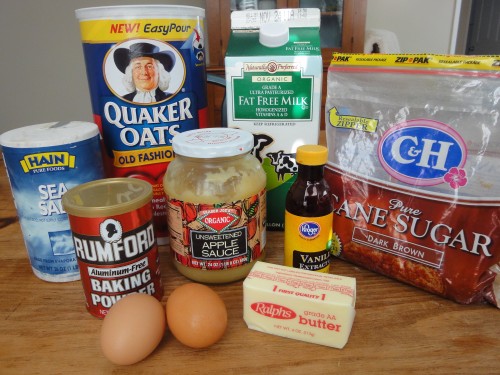
And this:

This is optional:
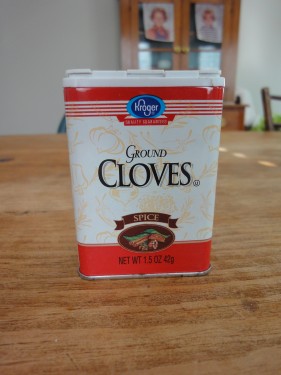
I can’t help but notice these photos in the background.

Who are those good-looking lads?
Those aren’t lads! That’s my sister and me!! My mom liked to keep our hair short.

Libby

Me. (That turtleneck was itchy.)
INGREDIENTS:
3 c rolled oats
1/2 c brown sugar
2 tsp ground cinnamon
2 tsp baking powder
1 tsp salt
1 c milk
2 eggs
2 tsp vanilla extract
1/4 c melted butter
1/4 c apple sauce
OPTIONAL:
raisins or cranberries

chopped nuts

ground flax seed

frozen blueberries
(No picture b/c I don’t actually have any!)
1. Preheat oven to 350.

2. Combine dry ingredients in a large bowl. Feel free to add a teaspoon of ground cloves if you have them. Or don’t!
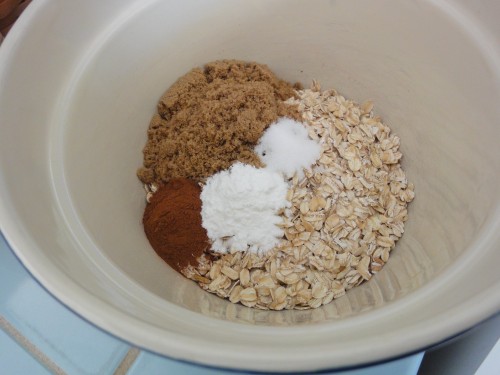
3. Beat eggs into wet ingredients (milk, vanilla extract, apple sauce & melted butter.)

4. Add wet ingredients to dry & stir until combined. Add any of the optional ingredients you desire (i.e. have)!
5. Spread into greased loaf pan.

6. Bake for 25-30 minutes (depending on your oven.) I did mine for 25 minutes because I don’t like it too dry.
7. Slice & serve! You can eat it as-is (sliced on a plate) or serve in a bowl with milk. This keeps well in the fridge for about 5 days. I haven’t actually had it longer than 5 days.
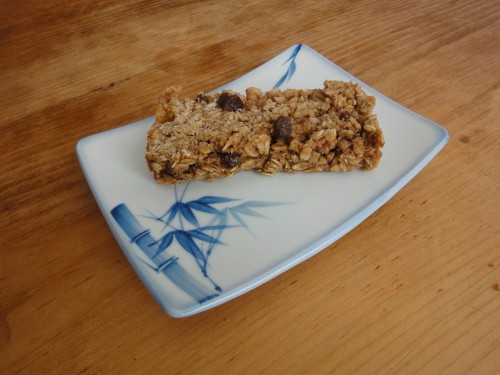
Bea loves it. Maddie doesn’t care for it. George has a raisin issue. He likes raisins solo but he doesn’t like them “in” anything. These are curious issues upon which I am not qualified to comment.
Checkout the original recipe. I replaced half of the butter with apple sauce & I also halved the amount of sugar that was in the original. I tried it two ways so far:
1. Replace ALL the butter with apple sauce. and
2. Replace half the butter with apple sauce.
VERDICT: Some butter is yummy! This is NOT news. In the future I’ll use 1/4 c butter and 1/4 c apple sauce. Still cut the sugar as I think 1/2 c is still a lot of sugar. Also, try to use apple sauce with no sugar added. The ingredients should say, “apples” and nothing else.
What variations did you try? I’d love to hear from you below!
I’m going to try to post ONE green deed a week. Does this mean I’m only doing one green thing? Nosiree but it means I’m only taking the time to highlite one. Also, it’ll hopefully be a new one each week that will add to what I’m already doing. We can’t ignore the fact that the population will be hitting (or has hit) 7 billion this month (Oct. 2011.) Guess what it was when I was born? 3 billion. Holy schmoly! I don’t know how the planet can support this.
Here’s one small thing I’m doing today: line drying my cloth diapers which saves a good deal of electricity.
Note: I was discussing clothes lines with my friend who is from Sweden. She said her mom always line-dried all their clothes in the basement. ALL YEAR. I mean even in the winter time. Line drying diapers does not require sun or heat. You can dry them in your garage or even in your house/apt. I leave them indoors sometimes at night and they are almost dry by morning.
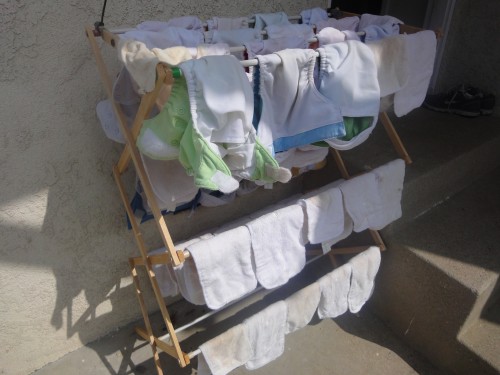
On really hot days I go crazy and put all the laundry out in the backyard but since I don’t have a space to line dry them indoors I resort to the dryer. I still hang bras/panties & jeans on the rack indoors though.
Some people don’t like the crunchy feeling of line-dried towels. I get that but some items are fine! Line drying will actually extend the life of your underwear/bras & jeans. If you spend a lot on jeans or love a particular pair of jeans, they will hold up much better if you spare them the dryer!
What is your Weekly Green? I look forward to hearing from you below…
Well, Maddie’s 3 and Bea’s 1 but Bea and 1 don’t rhyme. We were really lucky to have my dad and the A’s come celebrate with us!
Maddie told me she wanted a “butterflies & flowers” theme until I was done making 24 chocolate butterflies. Then she told me “I changed my mind. I want DRAGONS!”
She got butterflies.
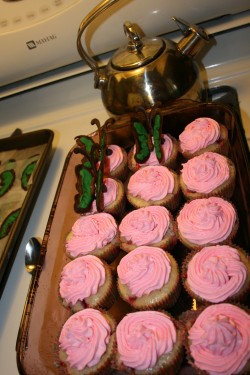
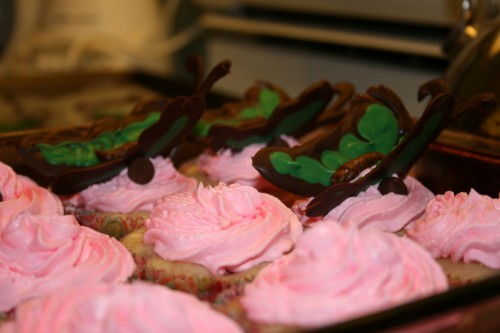
Thank god my sister in law was there!! She appeared like a magic fairy princess around 6AM to help me with EVERYTHING and then she took photos at the party! I couldn’t have done it without her!
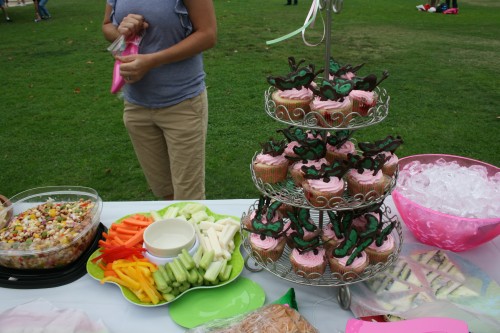 That’s my torso next to the cupcakes. I don’t like it but I DO like the colors of the veggies!
This was a pink & green park party. I spent all day Friday & the wee hours Saturday preparing everything. To be honest, my sister in law, angel, sent from Heaven, also spent the wee hours Saturday. And the later morning hours too. Oh, and she took all these photos as well. THANK YOU, ALLISON!
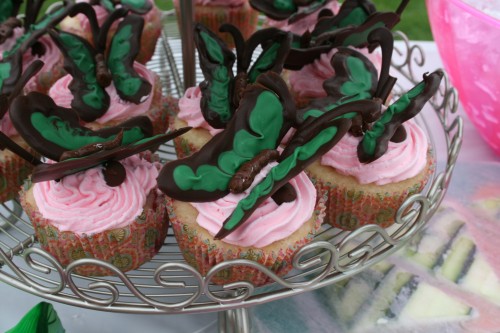
This is not a cupcake porn page.
Or is it?
Stay tuned for the cupcake HOW TO in the next posting…
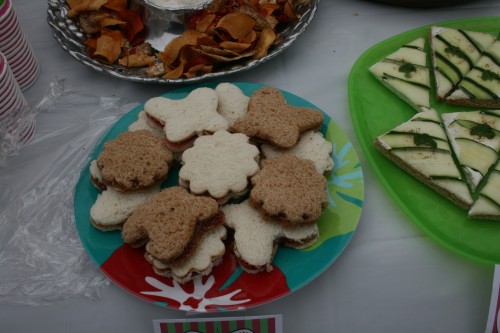 Peanut butter & jelly sandwiches.
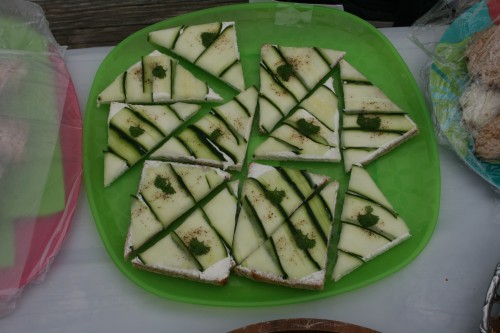 Cucumber/cream cheese sandwiches.
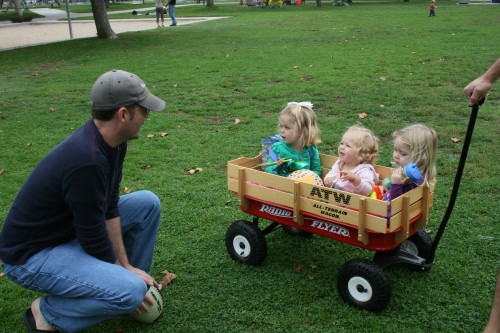
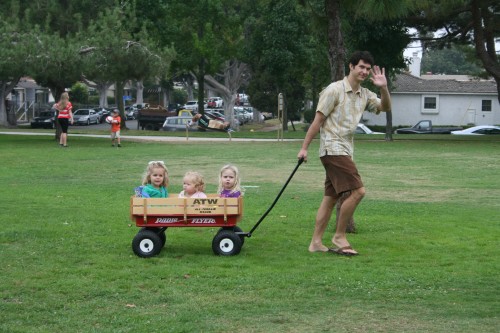 G hauling 3 of the cutest kids in the world around
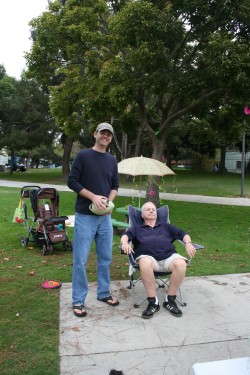
Andrew & Grampa


Little Sylvie just turned 1 a couple of weeks prior. Happy Bday!
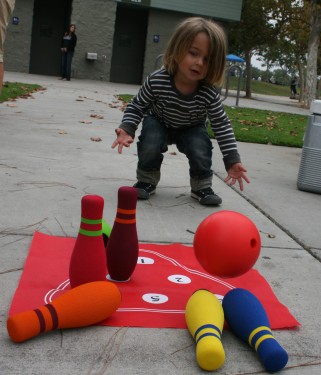
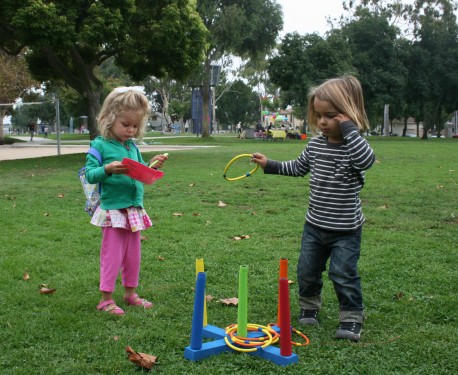
Aston mastered rings and now bowling.

Ava goes vertical!
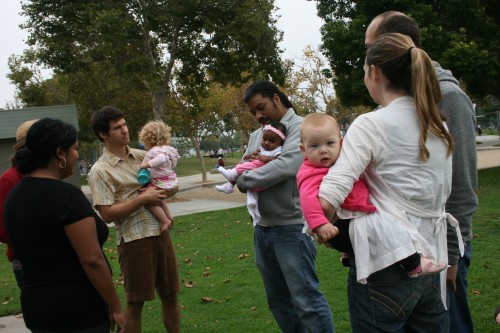
The place is lousy with babies!
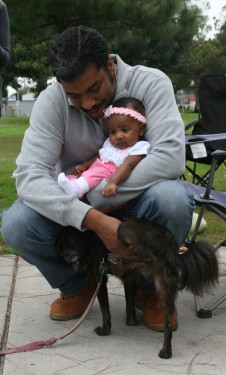
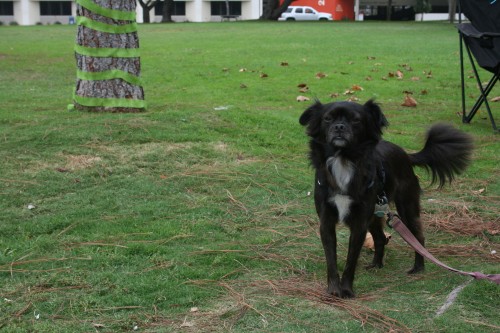
Thomas, Bella & Root Beer. Root Beer, you are NOT a gentleman.
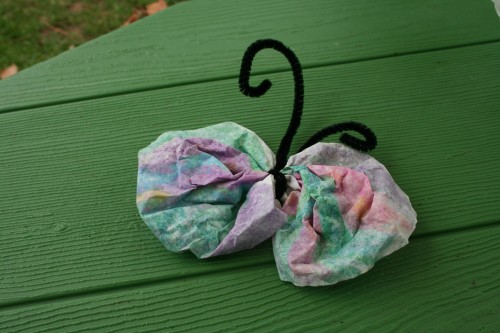
Thanks for the idea, Charlotte!
Coffee filters + paint + a pipe cleaner = a butterfly!
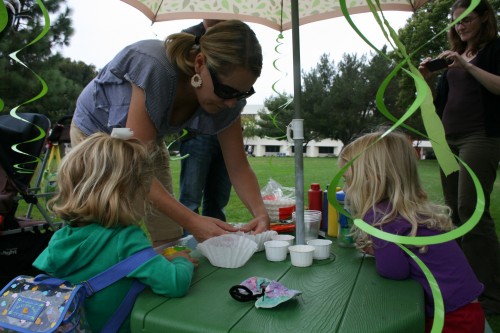
"First you do this, and then you do that. Is anyone listening??"
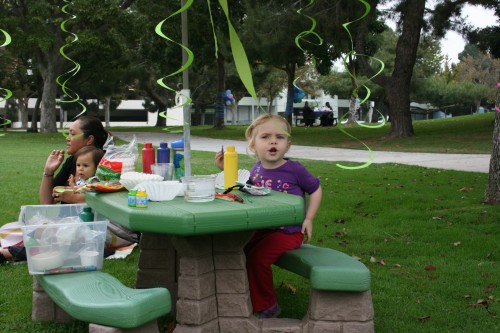
"Where'd everyone go?"
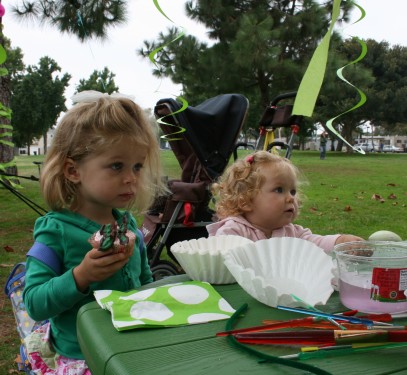
Maddie did hers one-handed.
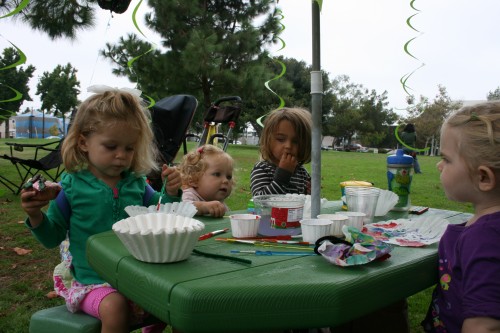
Aston, don't leave your cupcake here!
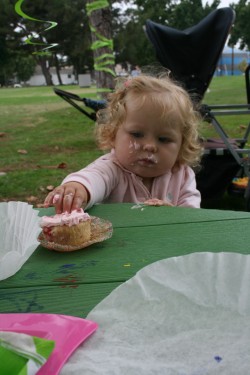
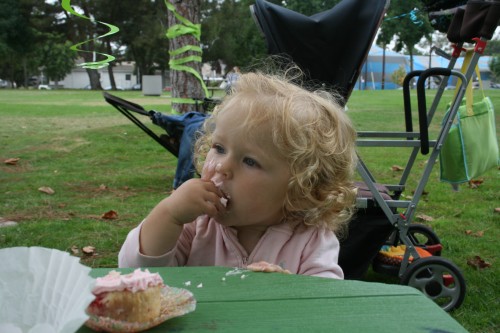
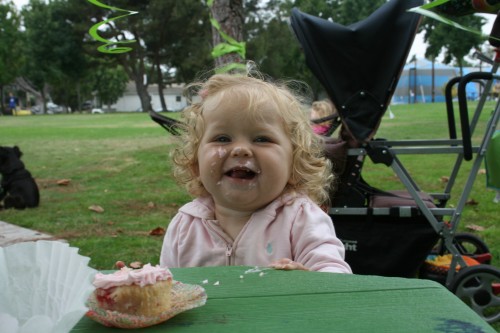
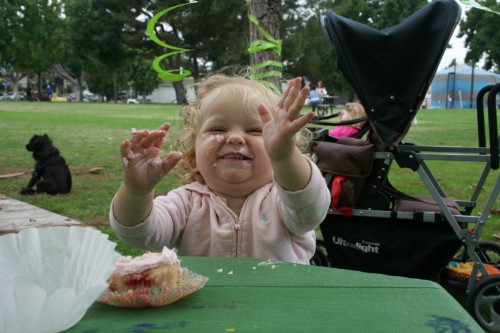
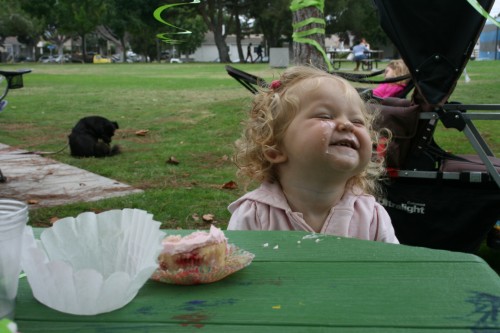
We absolutely LOVED having family there! We loved seeing friends at the party – friends we don’t get to see very often due to busy schedules and that pesky little thing called “work.” And I love baking and planning. But because of all the things I had to leave till the last minute…I was exhausted by the time the party started!
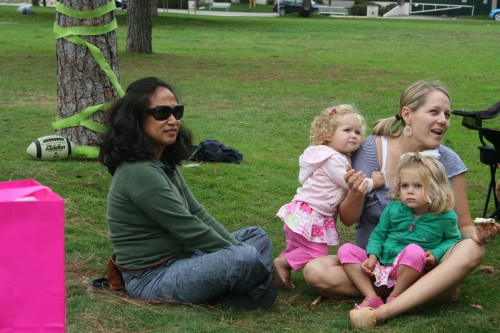
With Rebecca.
By the time this photo was taken I was too tired to get back up & light the candles on the cake.
The words of my mother in law rang in my head, “I always hated birthday parties.”
Next year G and I will be taking the girls to this place. They recently got a beer/wine license. Phew!
We came home and sat around watching football. (Not me, I wasn’t watching football.) Maddie loves having family around. And so do we.
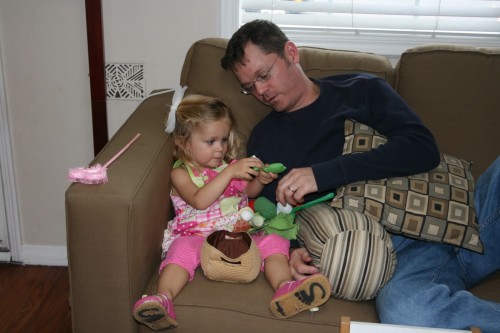
Patsy, don’t blame Andrew for this:
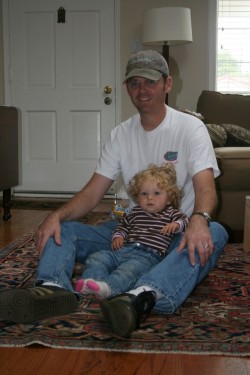
And thanks to Allison, we got a family shot!
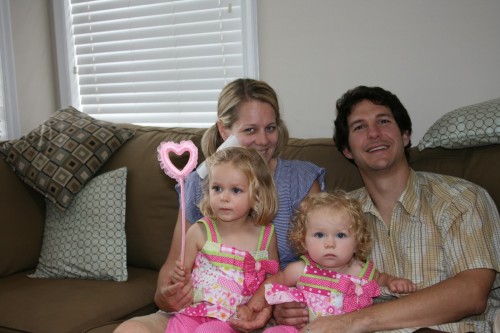
I have crazy eyes here.
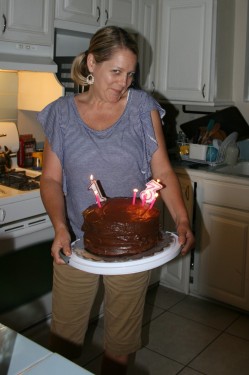
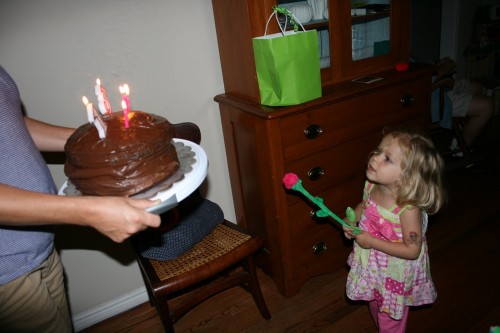
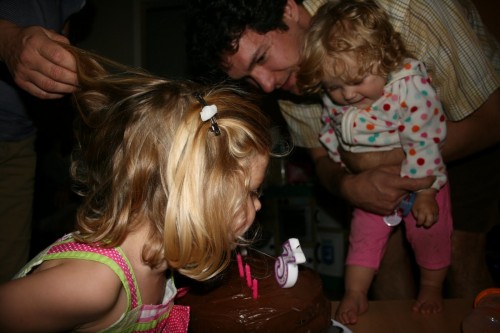
Later that night, after a yummy dinner with margs at Gilbert’s, we finally cut the cake! This is an excellent triple layer chocolate cake that I made last fall. This time it was DRY. And I ran out of time to decorate it. But it was the candle ritual that mattered!
The next day we headed to the Natural History Museum.


Andrew & Allison had to leave soon so we finally opened presents. Ready….set…
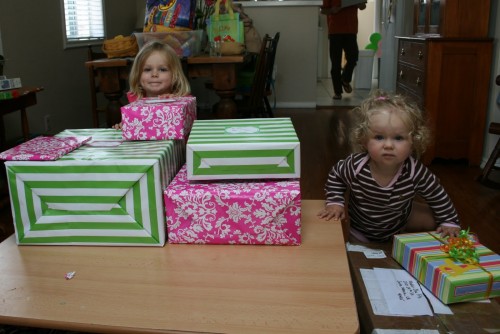
GO!
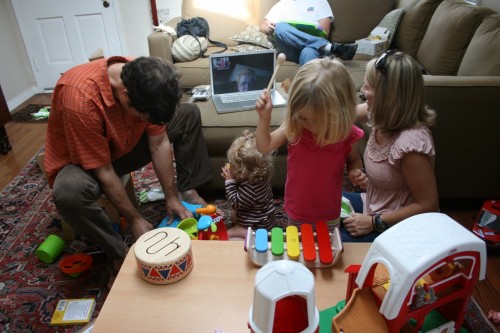
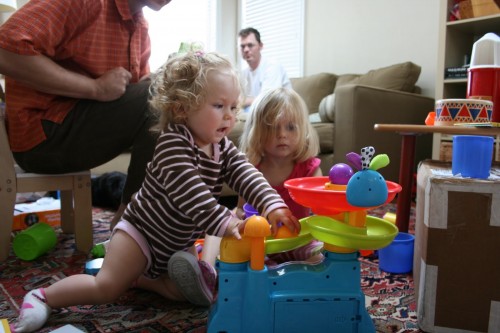
I thought I’d never finish this posting & I hope you didn’t think you’d never stop reading it! Happy birthday to both our sweet girls!!