


This trip to Barcelona wasn’t my first. I had spent a few days there just after college when I was working in London. However, I only spent two nights and...
The morning after losing the passports we packed up our stuff in a jiffy and took a cab to the US Embassy where we were soon engaged in a 4...
We just spent a month in Spain and I want to write down as much as I can before I forget it. It’s been over 10 years since I’ve travelled...
My friend and I attended this event on February 18th. We missed the march and joined the rally at City Hall in downtown LA. It was a much smaller crowd...
We started out at my sister’s house. My niece had a day off of work so we grabbed her and headed to South Street. The last time I’d been there...
This is so cute. There are many variations on Pinterest. I think the original idea came from the Free People blog which is worth looking at. I had these animals...
Last fall when I heard about the Ice Bucket Challenge I claimed to have felt bullied into donating since I didn’t want to make a spectacle of myself on Facebook....
After 20 years in the Castro, my dad decided to leave for a flatter, easier life. St. Allison met me in San Francisco a couple of weeks ago to help...
We braced ourselves for the start of kinder this year. After all, we knew how pre-school had gone two years prior. She only cried every day for 1.5 years of...
It’s getting HOT and making pasta every night is killing me. I’ve been trying to branch out to more salads now that it’s summer. This is a really tasty dish...
Check back for more recipes this week. Until then here’s a sneak peak…

Broccoli Lentil Soup with Roasted Red Pepper Coulis

Carmelized Mushrooms with Chive Biscuits

Greek Flatbread

Chocolate Chip Pumpkin Muffins

Black Bean Soup with all the Tomato Chunks pureed

Layered Veggie Enchilada
Some days I have no idea(r) what to make for dinner. Sesame noodles, pasta with olive oil & parm, pizza, and mac & cheese can only be served so many times. Well, LOTS of times, actually.
Here’s something you can literally throw together without feeling *as* guilty. (I’m not a Catholic, but I play one in real life.)
Here’s all you need:

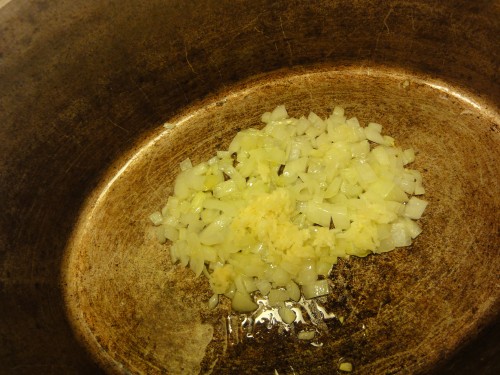
1. Sautee onion in heated oil over medium heat until translucent (about 4-5 minutes.) Add garlic & cook for another minute.
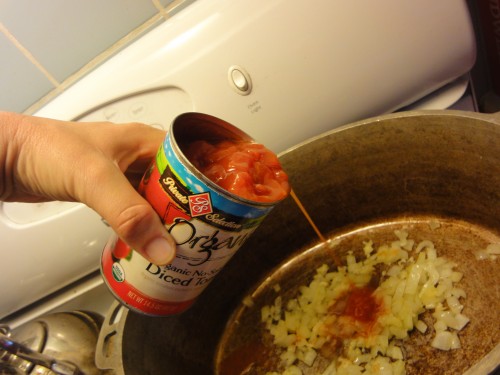
2. Add diced tomatoes.
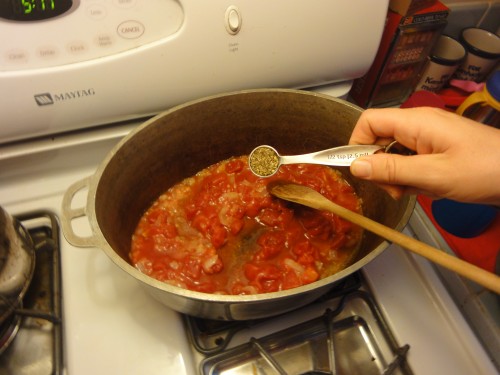
3. Add oregano.
4. Yell at kids & remind them that you only need 10 minutes if they can just “be good & watch TV!”




5. Hold baby while finishing this soup and thank your stars you picked something easy tonight.
6. Add broth. Bring soup to a boil. Then add tortellini & follow cooking instructions on package. Unless you made them yourself, in which case you aren’t reading this blog.
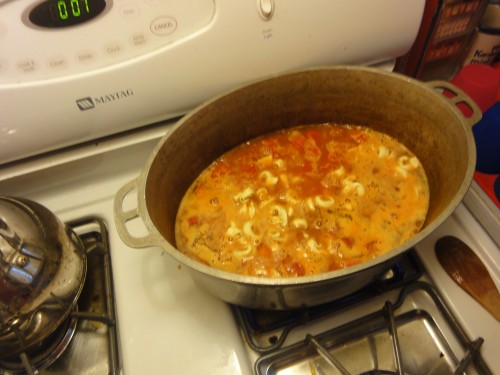
7. A minute before tortellini is done, add spinach. I told you to read the WHOLE recipe before you started! Oh, you say I didn’t? I meant to!
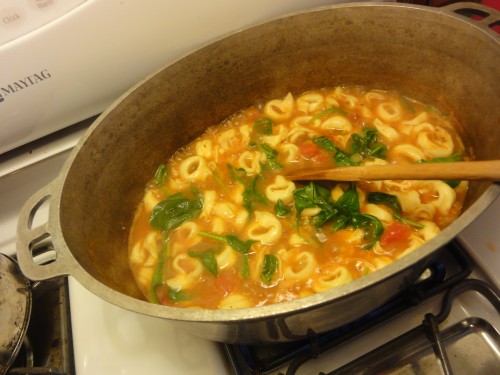
That’s it!! There’s nothing else to do except sprinkle fresh parmesan cheese on top.
You really don’t need to bother with bread or a salad which makes fewer dishes.

My kids loved this the first time. (I had to cut Bea’s tortellini up and obviously she couldn’t handle hot soup but she ate the solid parts cut up.) The second time Maddie refused to eat anything but the tortellini. Believe it or not, I have read all sides of the picky eater being made v. born and, with that knowledge under my belt, I think next time I’ll puree the soup before adding the tortellini. In other words, in one ear & out the other.
I might even puree the spinach in if it won’t look too gnarly.
***
UPDATE: I made this a few more times and finally have it down! The reasons I omitted the spinach are threefold:
1. My kids hate it.
2. I refuse to buy spinach when my garden is full of swiss chard.
3. It gets slimy the next day. Nobody likes slimy leftovers and I don’t like wasting food.
Instead I added 3-4 shredded carrots. I also pureed the tomatoes before adding. My beloved in-laws gave me an immersion blender for Christmas so I used that. Thanks Fitzs!!
Finally, I added some parmesan cheese directly to the soup & stirred. I then sprinkled a little across the top of each serving! Yum!
Adapted from Annie’s Eats.
I haven’t posted that much on the blog lately though I have loads of material. Why not?
Because of this:
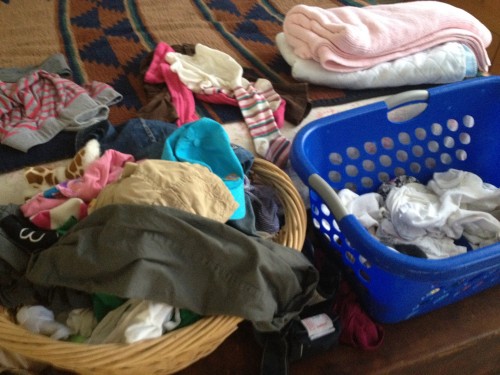
Ever present Laundry. Won't you disappear?
This:
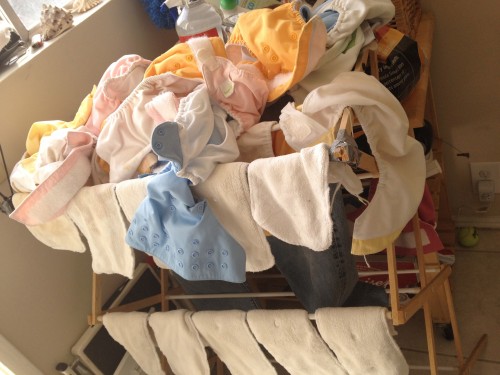
If I (god forbid) have a third child, I will use Pampers.
This:
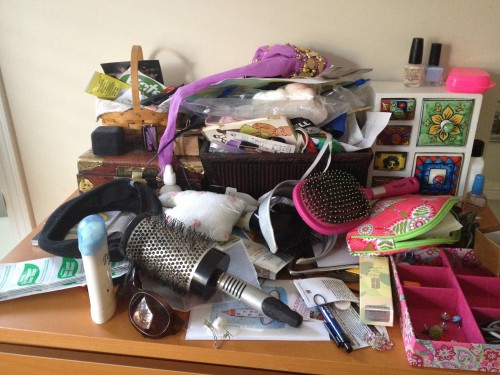
My dresser. There is an explanation (read: flimsy excuse.)
And this:
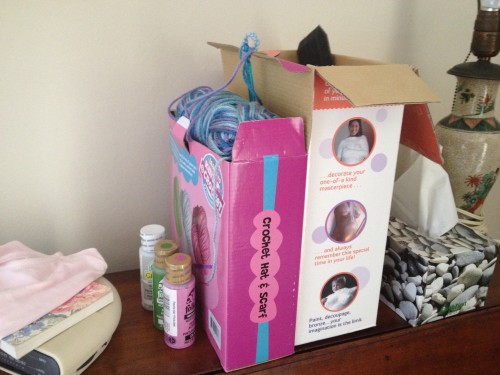
Unfinished (and unstarted) projects
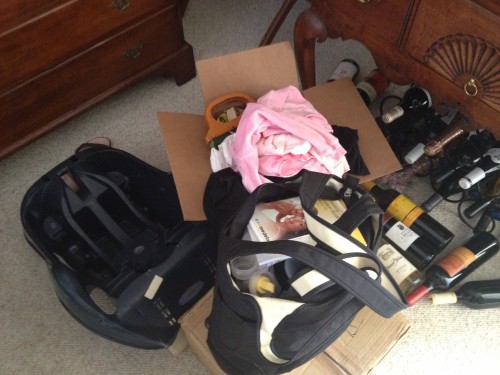
Things to sell on eBay. Yeah, right.
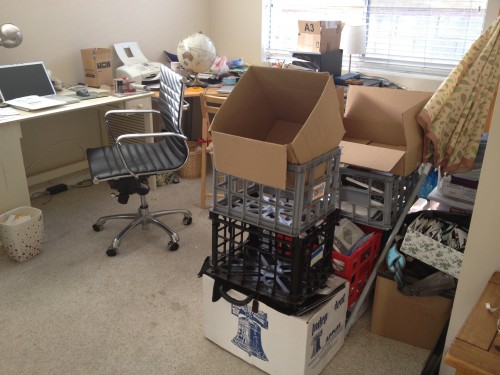
Ay yi yi!!!!!! (The neat little desk on the left is not mine.)
EXCUSES:
1. I have the majority of my mom’s stuff that we got out of storage a couple of years ago. We moved 3x in one year without bothering to unpack the boxes but now it is time to settle in.
2. Now that the kids are into everything – I just place breakable/precious things on the highest surfaces possible.
3. I don’t put things back. I think I will forget about things if I put them out of my sight so I leave them out but then I don’t get to them anyway.
MY PLAN:
Sort, go through, give away & sell anything I can.
NEW RULES:
1. No new projects till all the old projects are complete.
2. No book purchases (except for the kids). Library, LIBRARY, LIBRARY!
3. Put things back.
4. Sort out one bookshelf/closet/box a day (only on the days the kids are in daycare!)
I have the most patient husband in the world. But I still don’t want the house to look like this when his mom gets here next week.
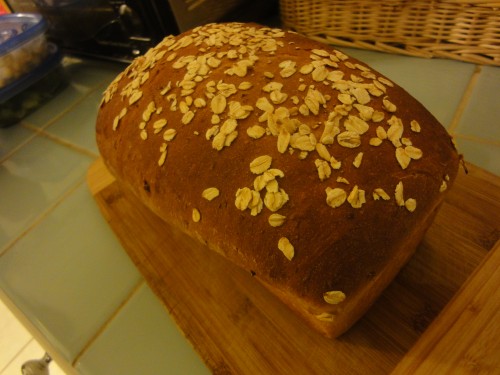
Back in my pre-kid days I went through a 6 month bread-making phase. Without a bread machine. It takes some time but is so totally worth it. What goes better with bread than soup?
My friend brought over some chayotes. (Thanks, Rebecca!)
I didn’t take this picture. Obviously.
 Photo from Palace of Latin Food blog.
Have you had these? I hadn’t. Having no idea what to do with them, I found this recipe for chayote soup. It was really easy & yummy – but much better the second and third day. Then I went crazy and made this excellent bread to have with it. YUM!
Here’s what you need for the soup:

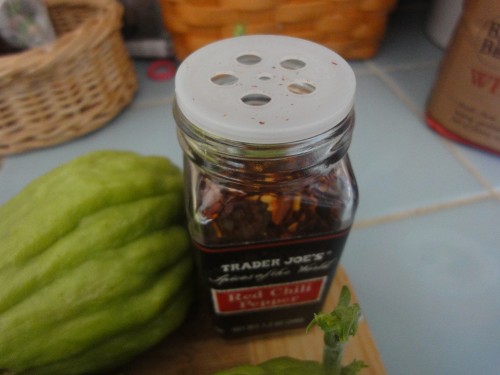
Where’s the lid?
INGREDIENTS:
2 tbsp butter OR olive oil
1 small yellow onion, minced
3 cloves garlic, minced
3 chayote squashes, peeled & diced
[OPTIONAL] 3 large carrots, sliced
3 tbsp chopped fresh cilantro
salt & pepper to taste
crushed red pepper to taste (start with 1/4 tsp)
2.5 cups vegetable broth
1 veg bullion cube (use a chicken flavored one if you can find it! – I actually threw in an old chicken bullion cube I had in the cabinet but Ralph’s has vegetable ones that have a chicken flavor without the poor chicken!)
1. Prepare onion, garlic & chayote.
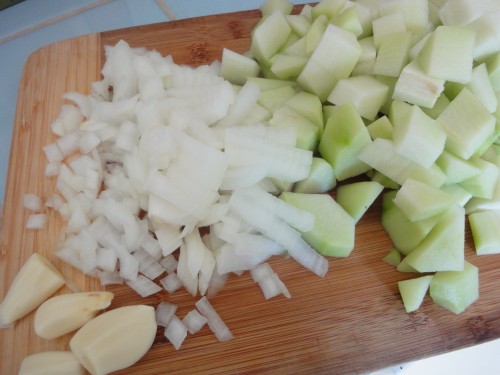
NOTE: I am no chayote expert but did read about a milky white substance that weeps out of the chayote when you skin/cut it which can cause skin sensitivities. That’s why I wore rubber gloves when cutting! ‘Course I might just be a real Nancy but Lord knows my hands are dry enough & don’t need any added irritants.
2. Melt butter in large saucepan. Saute onion for 4-5 minutes or until translucent.
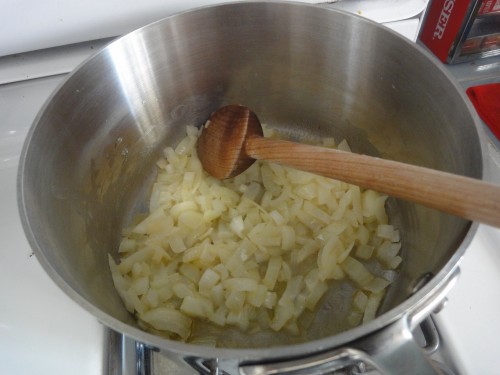 Add garlic for another minute. Add chayote, carrots, 2 tbsp cilantro & red pepper. Stir to coat with butter.
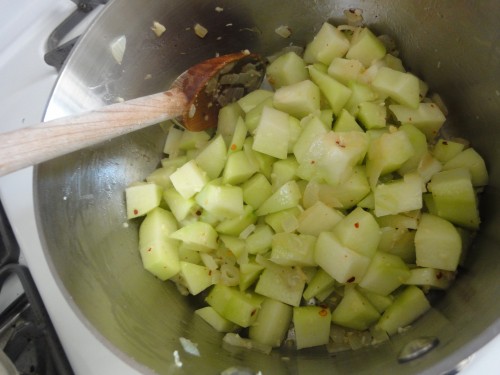
As you can plainly see, I forgot to add the cilantro. And the carrots. But you won’t!
3. Stir in vegetable broth, bullion cube & 1 tbsp cilantro. Heat to boiling & then simmer on low for 30 minutes. I think I simmered mine over an hour – I kept tasting my chayote to see if it was tender.
4. Ok. Here’s the tricky part. I couldn’t even photograph this since I needed both hands and was using my phone to take pix. In a blender or food processor, puree the whole kit and caboodle until smooth. I did a little at a time because last time I tried to puree a hot soup in the blender there was a LOT of clean up on the surrounding environs. If you like it a little chunky – just puree it a little.
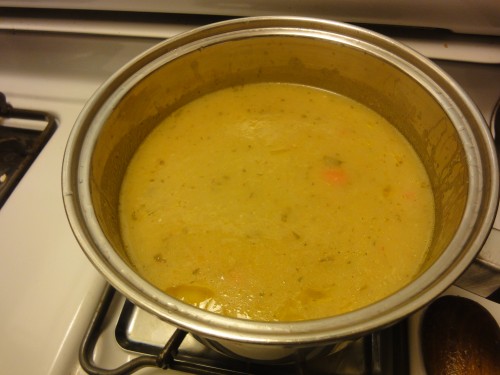
You’ll notice I have whole carrot slices in my soup. That’s because I added maple glazed carrots as an afterthought. I actually have these in my refrigerator all the time for Bea. I will add a link to that recipe as soon as I get a chance! Anyway, they are really tasty but I definitely wouldn’t make them JUST for this soup – carrots do add a nice sweetness though.
5. Pour into bowls & garnish with cilantro or even a dollop of sour cream.
This soup tastes better the second, third & fourth days. VERY healthy yet it seems creamy!
Adapted from AllRecipes.
Now for the bread!! Ooooooohhhh the bread!!
Whoever wrote the directions did it so perfectly I have to just repeat them verbatim. No way to improve on them…
Here’s what you’ll need:
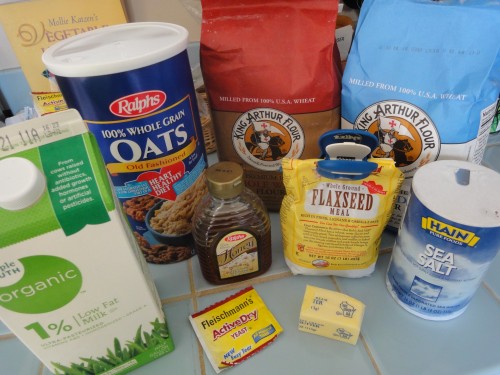
(I just realized I put that Flax Seed in the picture but then forgot to add it to the bread dough. Anyway – you can add a little to the bread dough for extra fiber, lignans & omega 3 fats.)
INGREDIENTS:
2 c boiling water
1 c rolled oats
1/2 c honey
2 tbsp butter
2 tsp salt
1 (.24 oz) package of active dry yeast (or 1 1/4 tsp)
1/2 c warm water (NOT hot – hot will kill your yeast)
1.5 c whole wheat flour
4 c bread flour
2 tbsp milk
2 tbsp honey
handful of rolled oats
1. In large mixing bowl (stand mixer bowl if you have one), combine boiling water to oats, honey, butter and salt. Let stand 1 hour.
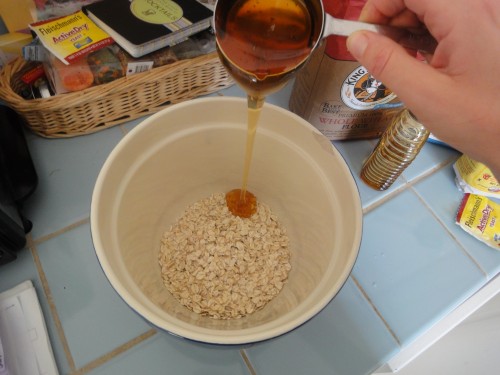
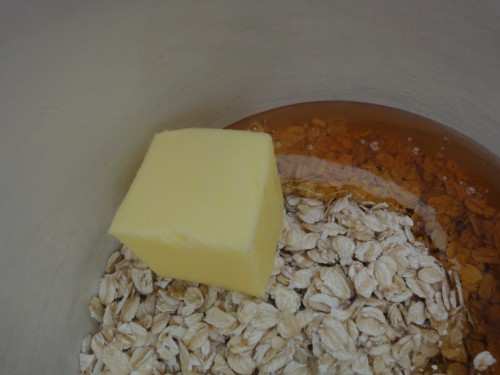
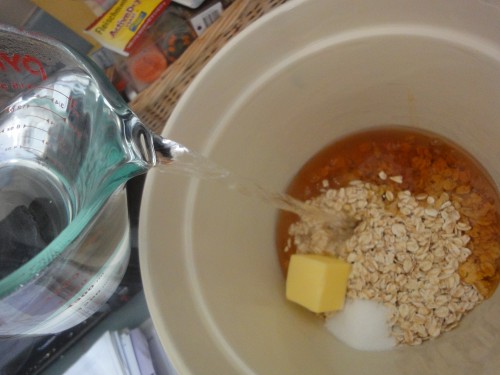
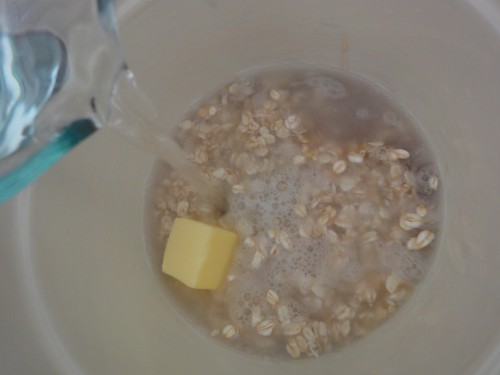
2. In small bowl, dissolve yeast in warm water. Let stand until creamy, about 10 minutes.
Someone forgot to take a picture of this.
3. Pour the yeast mixture into the oats mixture. Combine wheat flour and bread flour in separate bowl.
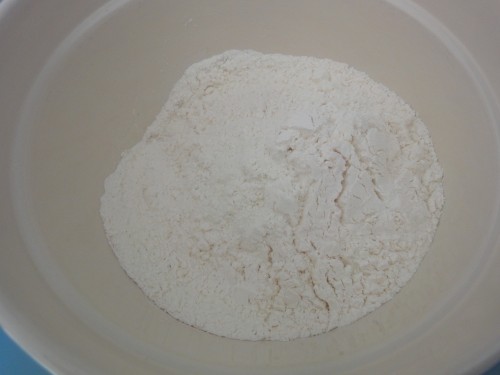
Add 2 cups of flour mixture to oats mixture and combine well.
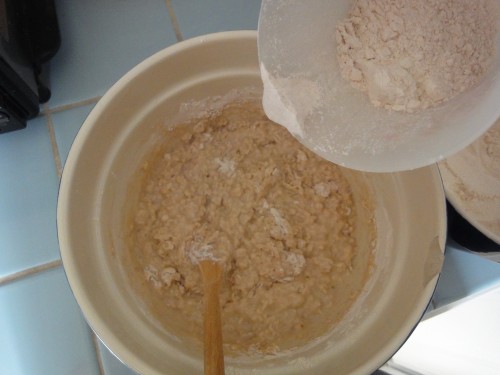
Continue adding flour mixture to mixing bowl by 1⁄2 cup increments until dough pulls together.
It’s starting to pull together:
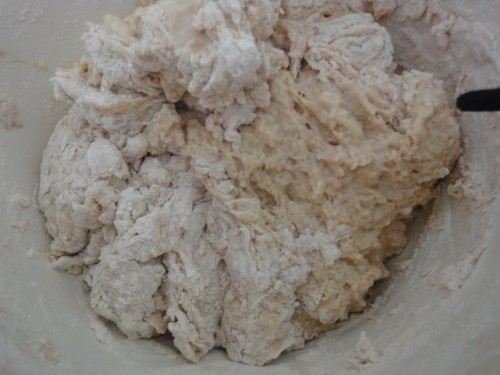
But you can see it needs a little more flour:
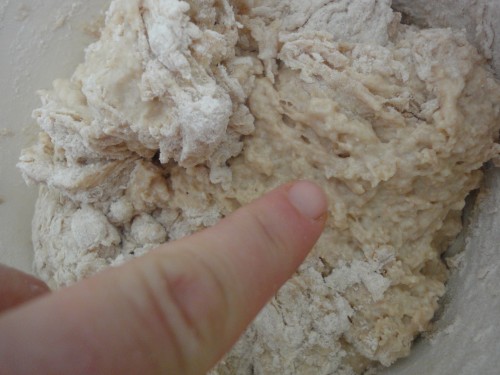
This will happen when between 5 1⁄2 & 6 cups of flour has been added. You may not need the last 1⁄2 cup of flour. (I did!)
4. When the dough has pulled together, turn it onto a lightly floured surface and knead until smooth and elastic. Or add your bread hook to your mixer and knead for a few minutes.
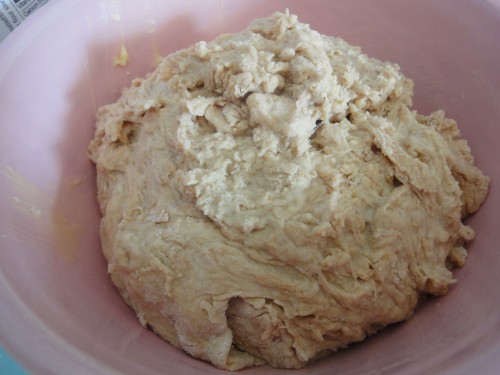
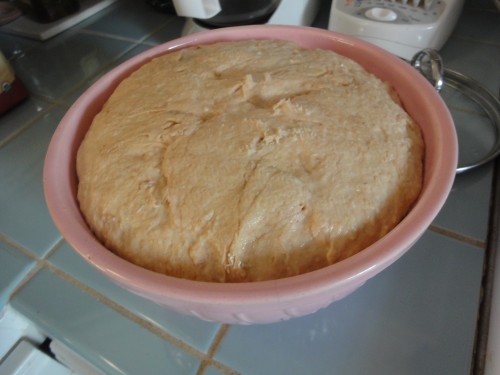
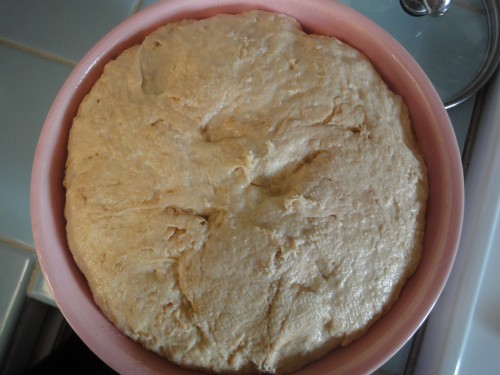
5. Lightly oil a large bowl, place dough in the bowl and turn to coat with oil. Cover with a damp cloth and let rise in a warm place until doubled in volume, about 1 hr. (I preheat the oven for about 5 minutes then turn it off, make sure it’s warm but not hot and put the bowl in there to rise, this seemed to work best because for this recipe is there is much more flour than yeast).
Risen dough:
6. Deflate the dough and turn it onto a lightly floured surface. Divide into two equal pieces and form into loaves. Place in 9 x 5 greased loaf pans and cover with damp cloth & let rise again until doubled in volume, about 40 minutes. (I return the pans to the oven for this step too.)
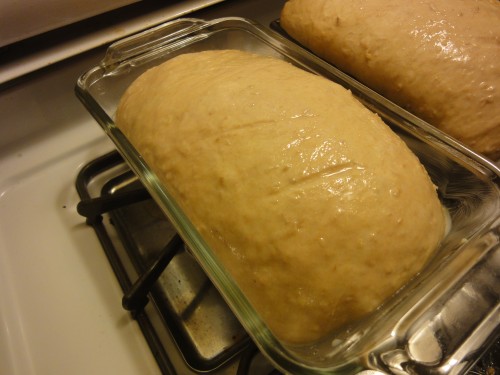
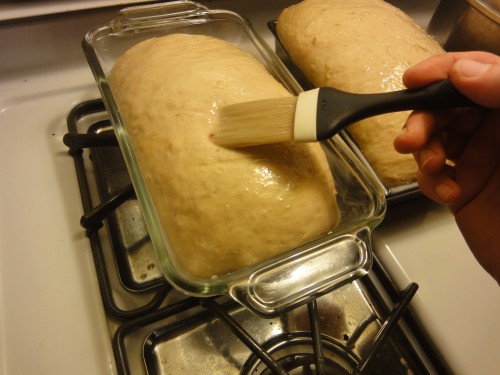
7. Preheat oven to 375. While oven is preheating mix milk and honey together in mug and microwave for about 20 seconds. Brush warm milk mixture over loaves and generously sprinkle with rolled oats.
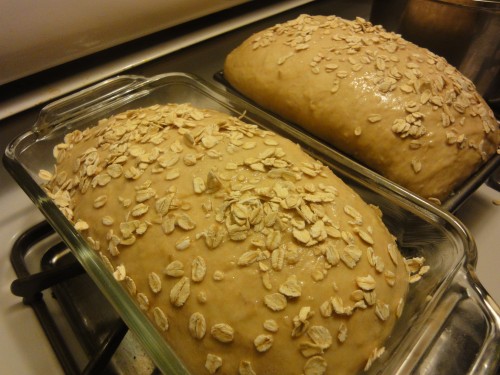
8. Bake loaves at 375 for 25‐30 minutes or until top is golden brown and the loaf sounds hollow when tapped. Let cool before removing from pans.
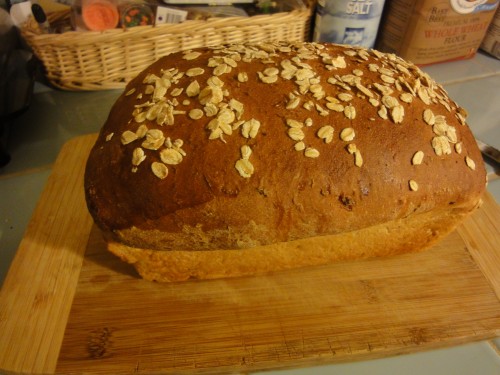
Can we see that again from another angle?

Whole Wheat Honey Oatmeal Bread recipe copied verbatim (pix are mine!) from Fly Through Our Window
You can freeze this – just wrap in foil & then put in an airtight Ziploc Freezer Bag.
She’s got a PDF file as a link on her site!
Lots of times I’ll start making something at night, yes, without reading the ingredients first, and realize I’m missing something. Last time it was buttermilk. This one’s easy to remedy!
It involves 2 ingredients that you might have lying around:
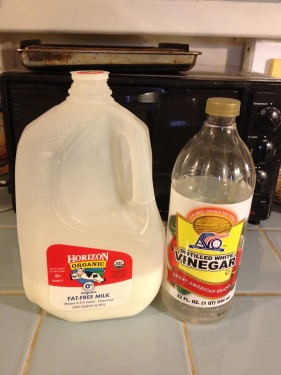
Just add 1 tablespoon of white vinegar to 1 scant cup of milk. If you only need half a cup of buttermilk, why then, add 1/2 tablespoon of white vinegar to 1/2 scant cup milk.
What is a scant cup? It means just under a cup.
Lookie here:
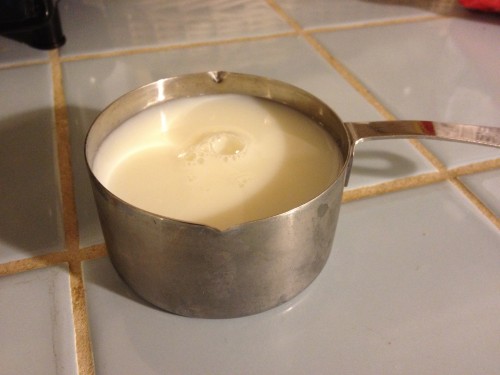
Add the vinegar & let it sit for 5 minutes. Now you’re ready to cook!
PS What if you don’t have white vinegar? Do you have a lemon? Replace the vinegar with lemon juice & you’re good to go!